This crochet pattern in your image is a Front Post Double Crochet (FPDC) Mitered Square, giving a beautiful 3D ribbed texture. Here’s a detailed tutorial to make it:
🧶 MATERIALS
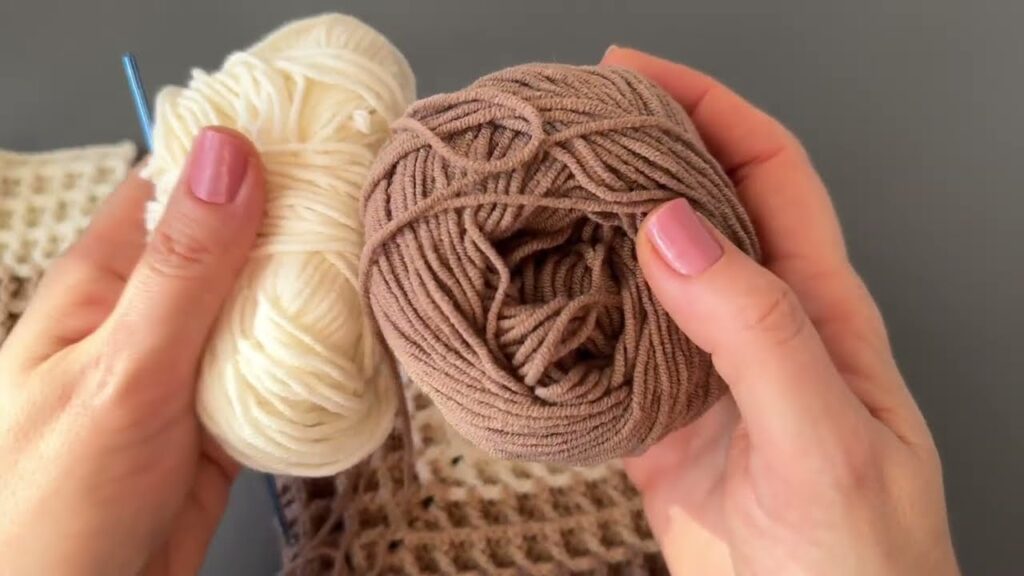
- Yarn: 3 or 4 gradient colors (DK / medium weight) — cream, beige, tan, brown
- Hook: 4.0 mm or 4.5 mm
- Tools: Scissors, yarn needle, stitch markers

🧵 STITCH GUIDE
You’ll use these basic stitches:
| Stitch | Abbreviation | Description |
|---|---|---|
| Chain | ch | Yarn over, pull through loop |
| Slip Stitch | sl st | Insert hook, yarn over, pull through all loops |
| Double Crochet | dc | Yarn over, insert hook, pull up loop, yarn over, pull through 2 loops, yarn over, pull through last 2 loops |
| Front Post Double Crochet | FPDC | Yarn over, insert hook around the post of stitch from front to back to front, yarn over, pull up loop, yarn over, pull through 2, yarn over, pull through 2 |
| Front Post Treble Crochet (optional variation) | FPTC | Same as FPDC but with extra yarn over for deeper texture |
🔷 STEP-BY-STEP TUTORIAL
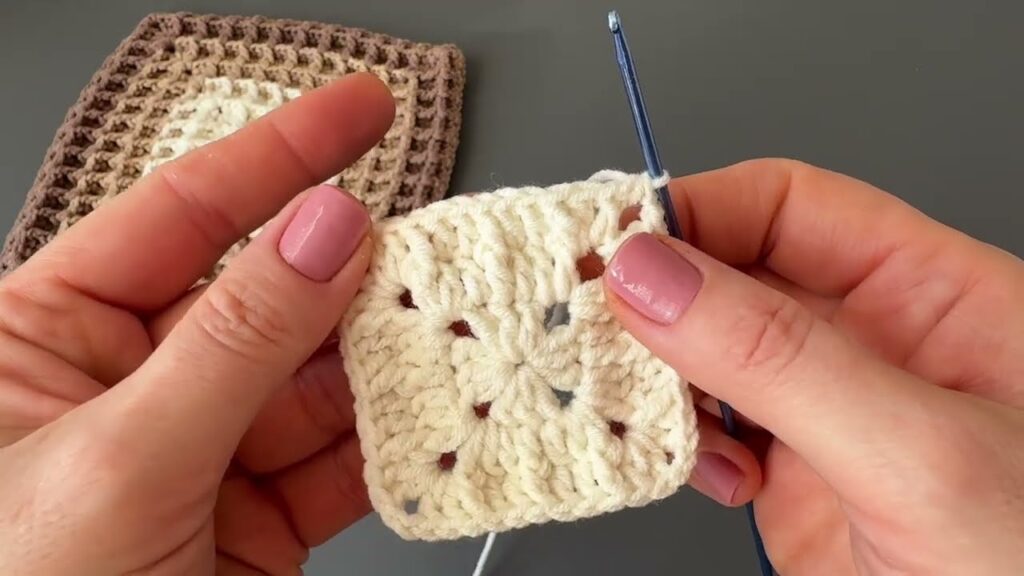
🩶 Round 1 – Center
- Magic Ring (or ch 4 and join with sl st).
- Ch 3 (counts as dc), work 2 dc, ch 2 (this forms first corner).
- (3 dc, ch 2) repeat 3 more times into ring.
- Join with sl st to top of beginning ch-3.
- You’ll have 4 groups of 3 dc and 4 ch-2 corners.
- Tighten magic ring.
🤎 Round 2
- Sl st to next ch-2 space.
- Ch 3 (counts as dc), 1 dc, ch 2, 2 dc — corner made.
- Ch 1 (side space).
- In next ch-2 corner: 2 dc, ch 2, 2 dc, ch 1.
- Repeat around and join with sl st.
- You’ll now have 4 ch-1 spaces on sides, 4 corners.
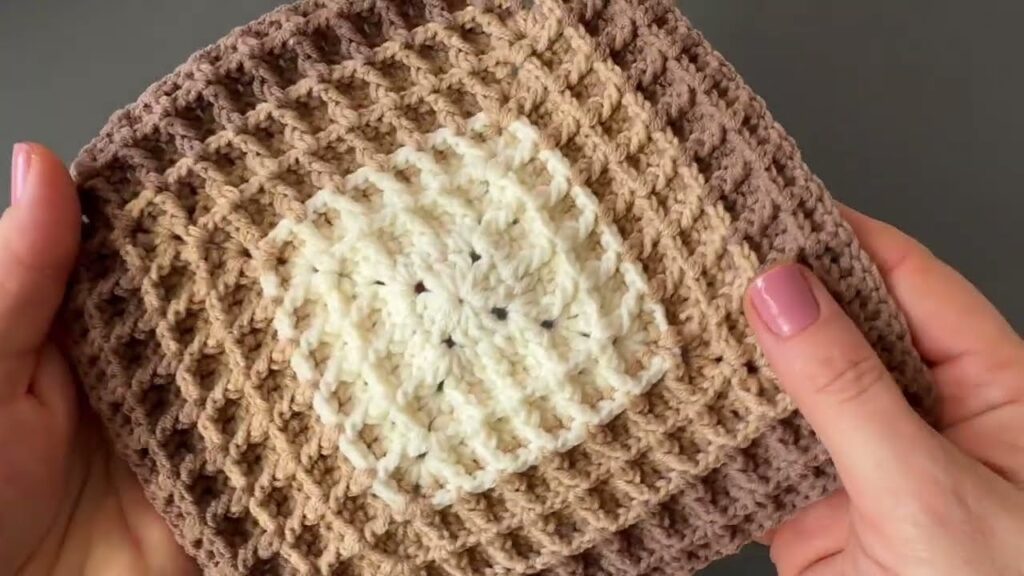
🤍 Round 3 – Begin Texture
- Sl st to corner space.
- Ch 3, 1 dc, ch 2, 2 dc (corner).
- FPDC around next dc from previous round, dc in next dc, ch 1 across to corner.
- In each corner: 2 dc, ch 2, 2 dc.
- Continue pattern all around, join with sl st to top of ch-3.
🤎 Round 4
- Sl st to corner space.
- Ch 3, 1 dc, ch 2, 2 dc (corner).
- FPDC around each FPDC from previous round; dc in each dc.
Add 1 dc (or ch 1 space) if you need spacing between corners. - Repeat for all sides.
- Join with sl st, fasten off if changing color.
🩶 Round 5 and onward – Continue pattern
Each new round repeats the same structure:
- Corners: 2 dc, ch 2, 2 dc.
- Sides: Alternate FPDC (around post of FPDC from below) and dc (in dc from below).
- The FPDC ridges will grow out from the center diagonally — giving that raised, ribbed texture.
✨ COLOR CHANGES
- Change color after every 2–3 rounds for gradient effect.
- Always join new color at a corner to make transitions cleaner:
- Fasten off old yarn.
- Attach new color in any ch-2 corner with a sl st.
- Continue next round as usual.
💡 TIPS
- Use stitch markers in corners — helps you keep track.
- Make sure corners always have: 2 dc, ch 2, 2 dc.
- To keep square flat, don’t pull FPDCs too tight.
- Blocking helps flatten and shape your square.
🧩 JOINING SQUARES
You can make many of these textured squares and join them using:
- Slip stitch join
- Whip stitch
- Single crochet join
They make amazing:
- Blankets
- Pillow covers
- Table mats
- Bags