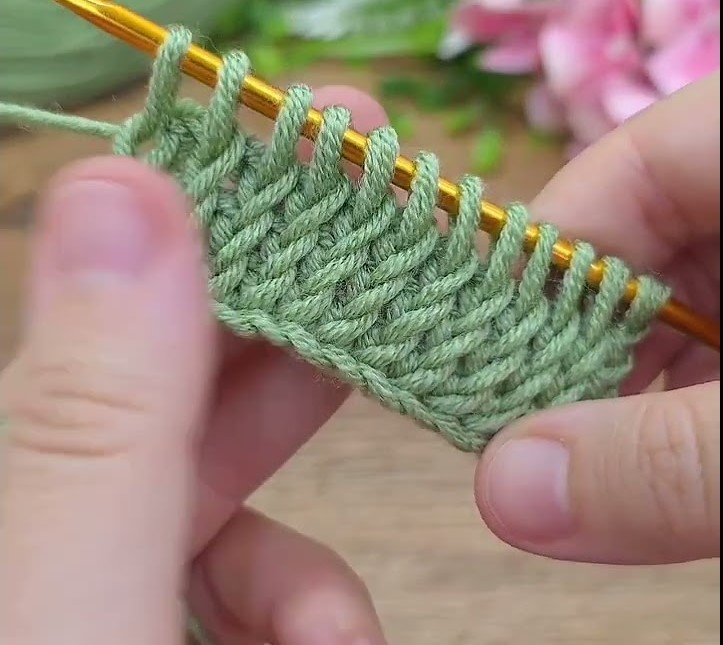
The image you shared shows a Tunisian Simple Stitch (TSS), which is a basic and beautiful crochet technique that looks similar to knitting. Here’s how to make it step-by-step 👇
🧶 Materials
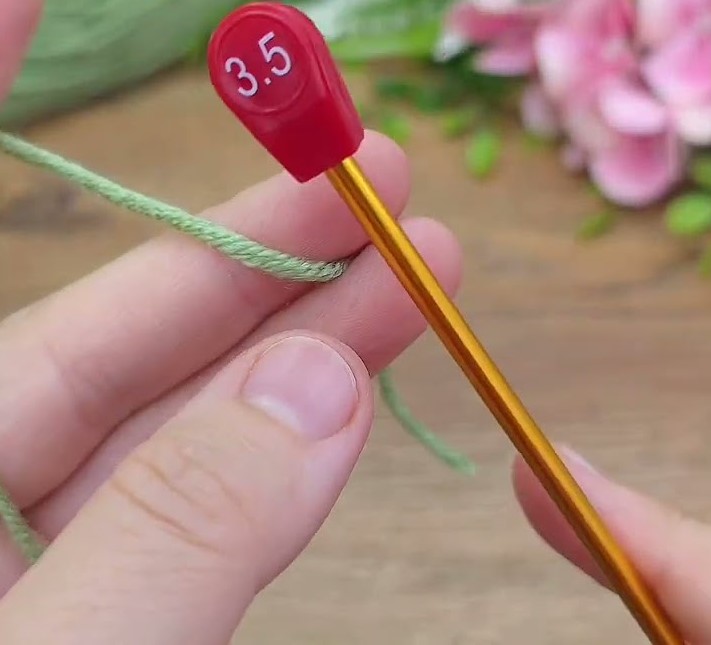
- Tunisian crochet hook – longer than a normal hook, with or without a cord
- Medium-weight yarn (any color you like)
- Scissors
- Tapestry needle (for weaving ends)
🪄 Step-by-Step Tutorial
1️⃣ Make the Foundation Chain
- Make a slip knot on your hook.
- Chain (ch) any number of stitches. For practice, chain 12.
- Tip: Keep your chains loose, not tight.
2️⃣ Forward Pass (Collect Loops)
Now we’ll pick up loops — this is what makes Tunisian crochet unique!
- Skip the first chain (the one nearest the hook).
- Insert your hook through the back loop of the next chain.
- Yarn over (YO) and pull up a loop — keep it on the hook.
- Insert the hook into the next chain, YO, pull up another loop.
- Repeat across the row.
- You should now have one loop for each chain on your hook (including the first loop from the slip knot).
✅ You’ve finished the forward pass.
The hook will now hold all your loops — don’t turn your work!
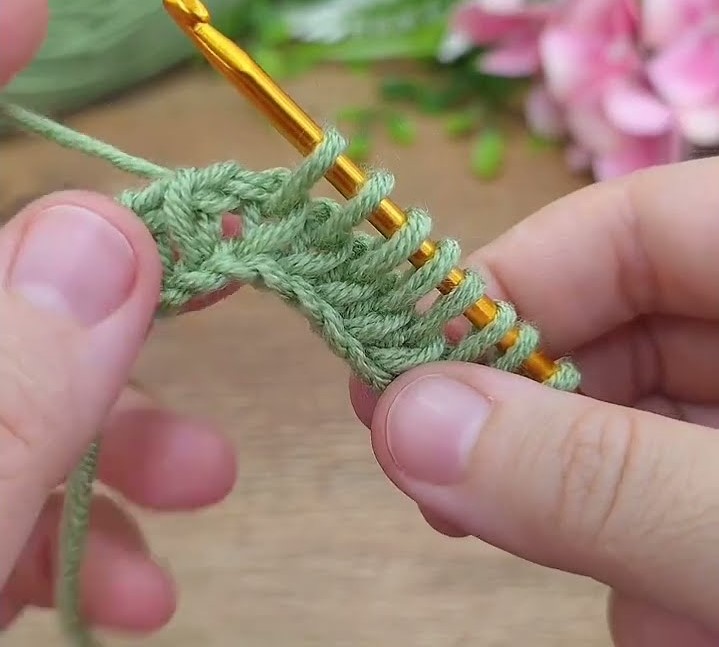
3️⃣ Return Pass (Work Loops Off)
This step brings you back to the beginning of the row.
- YO, pull through 1 loop only (this makes the edge stitch).
- Then, YO, pull through 2 loops at a time across the row
→ until only one loop remains on your hook.
✅ This completes one full Tunisian crochet row (forward + return).
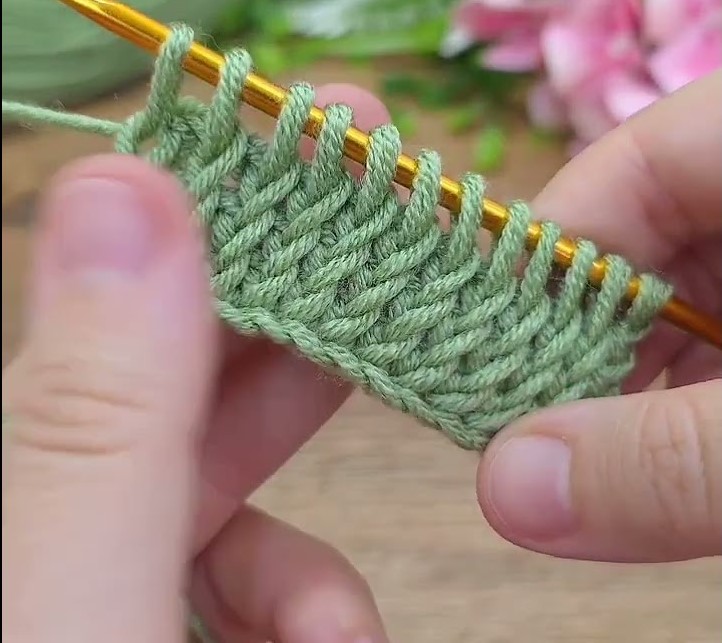
4️⃣ Next Row — Tunisian Simple Stitch Pattern
Here’s the core of the texture shown in your photo 👇
Forward Pass:
- Don’t chain or turn.
- Skip the very first vertical bar (the one right under your hook).
- Insert the hook under the next vertical bar (front to back).
- YO, pull up a loop (keep it on the hook).
- Repeat across the row, under each vertical bar.
- For the last stitch, insert the hook under both strands of the edge stitch (this keeps the edge straight).
- You’ll again have a full hook of loops.
Return Pass:
- Repeat the same:
- YO, pull through 1 loop.
- Then YO, pull through 2 loops at a time until one loop remains.
5️⃣ Repeat
Keep repeating the forward pass and return pass.
After a few rows, you’ll see the signature woven knit-like texture forming — exactly like in the photo.
6️⃣ Finishing (Bind Off)
When your piece is the desired length:
- Insert your hook under the next vertical bar.
- YO, pull through both loops on the hook (like a slip stitch).
- Repeat across the row.
- Cut the yarn, pull it through the final loop, and weave in ends.
🌿 Tips for Success
- Always insert your hook under the front vertical bar unless a pattern says otherwise.
- Don’t make loops too tight — it’s easier to work if the fabric is flexible.
- The edges may curl a little — that’s normal! You can block the fabric later.
- For a neater edge, always insert the hook under two loops on the last stitch of the forward pass.