Below is a step-by-step explanation so you can follow it easily, even if you work carefully stitch by stitch.
This pattern is often called an Interlocking Ring / Celtic Knot Granny Square.
🧶 MATERIALS (IMPORTANT DETAILS)
• Yarn weight: DK or Worsted (No. 3–4)
• Hook size:
– DK yarn → 3.0 mm
– Worsted yarn → 3.5 mm
• Colors used:
- Pink – first ring
- Green – second ring + square body
- White – decorative corners
- Gray – outer border

ABBREVIATIONS (US TERMS)
ch = chain
sl st = slip stitch
sc = single crochet
dc = double crochet
st = stitch
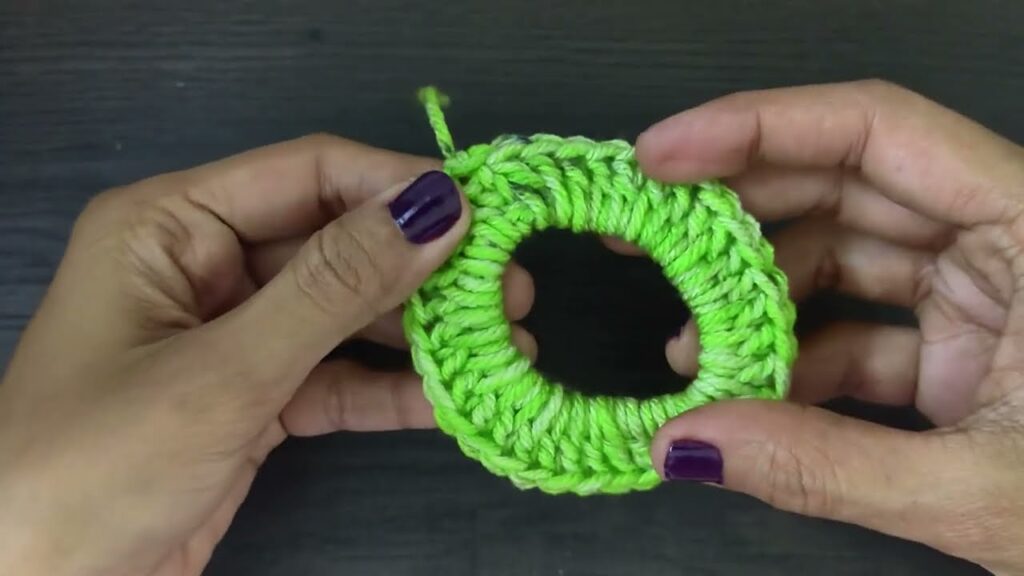
🟣 STEP 1: FIRST RING (PINK)
- Make a magic ring
(or ch 6 and join with sl st) - Ch 3
→ counts as 1 dc - Work 23 dc into the ring
→ Total = 24 dc - Pull ring tight
- Join with sl st to the top of ch-3
- Fasten off
📌 Keep the ring flat and round, not twisted
🟢 STEP 2: SECOND RING (GREEN – INTERLOCKING)
This is the most important part
- Make another magic ring
- Ch 3
- Work 23 dc into the ring
→ Total = 24 dc - Before closing the round, interlock the rings:
🔁 HOW TO INTERLOCK
• Place the green ring through the pink ring
• Arrange it so:
- 2 curved sections are ABOVE
- 2 curved sections are BELOW
👉 Think: over, under, over, under
- Join with sl st
- Fasten off
📌 Adjust with your fingers so the knot looks balanced
🟩 STEP 3: GREEN SQUARING ROUND
Now we turn the knot into a square.
- Attach green yarn anywhere between the rings
- Ch 3
- Crochet around the rings like this:
🔹 CORNERS (4 TIMES)
3 dc
ch 2
3 dc
🔹 SIDES
• Work dc stitches evenly
• Insert hook around the ring, not into stitches
📌 Tip:
- If the square curls → add more dc
- If it waves → reduce dc
- Join with sl st

⚪ STEP 4: WHITE CORNER DECORATION
This makes the flower/star corners
- Attach white yarn in any corner
- Ch 3
- At EACH CORNER:
3 dc
ch 3
3 dc
- Along each side:
• 1 dc in each stitch - Join with sl st
📌 Corners should look raised and decorative
⚫ STEP 5: GRAY FINAL BORDER
- Attach gray yarn
- Ch 1
- Sc around the entire square
- At EACH CORNER:
sc
ch 2
sc
- Join with sl st
- Fasten off and weave in all ends

📐 FINISHED SIZE
• Approx. 10–12 cm (4–5 inches)
(depending on yarn and hook size)
🧵 COMMON PROBLEMS & FIXES
❌ Knot looks messy
✅ Re-adjust over/under placement before Step 3
❌ Square not flat
✅ Add or remove dc on sides
❌ Corners too tight
✅ Use ch-3 instead of ch-2
🧡 USES
✔ Blanket squares
✔ Pillow covers
✔ Bags
✔ Wall decor

