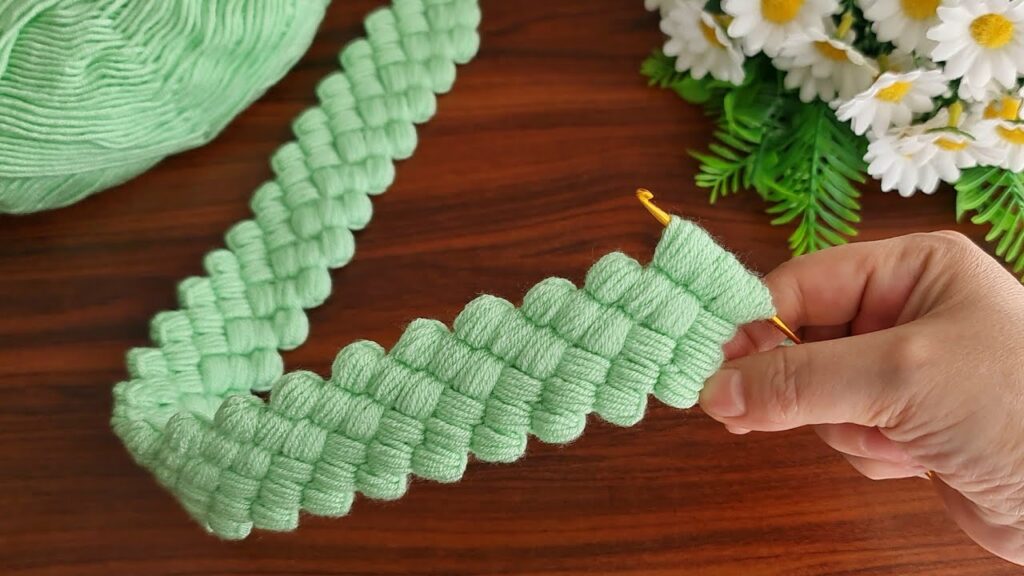
This is a crochet puff braid (or puff stitch braid). It’s made using puff stitches (or elongated loops) worked in a way that creates a woven, 3D texture. I’ll guide you step by step so you can make it:
🔹 Crochet Puff Braid Tutorial (Step by Step)
1. Foundation
- Start with a slip knot on your hook.
- Chain an even number (example: 16 chains if you want a medium width, or adjust as you like).
2. Making the First Row of Loops
This is the key to the braid effect.
- Insert your hook into the second chain from the hook.
- Yarn over, pull up a loop (keep it tall, about 1.5–2 cm).
- Instead of finishing the stitch, remove the loop from your hook and hold it with your fingers (or place on a knitting needle/pencil for even size).
- Reinsert the hook into the next chain, yarn over, pull up another tall loop, remove it, and hold.
👉 Continue this for each chain across → you’ll have a row of long loops sticking out.
3. Securing the Base Row
- After finishing the row of loops, turn your work.
- Chain 1.
- Work single crochet stitches across the row (into the base chains).
- Now you’ll have:
- A secure row of single crochets.
- A row of free loops above them.
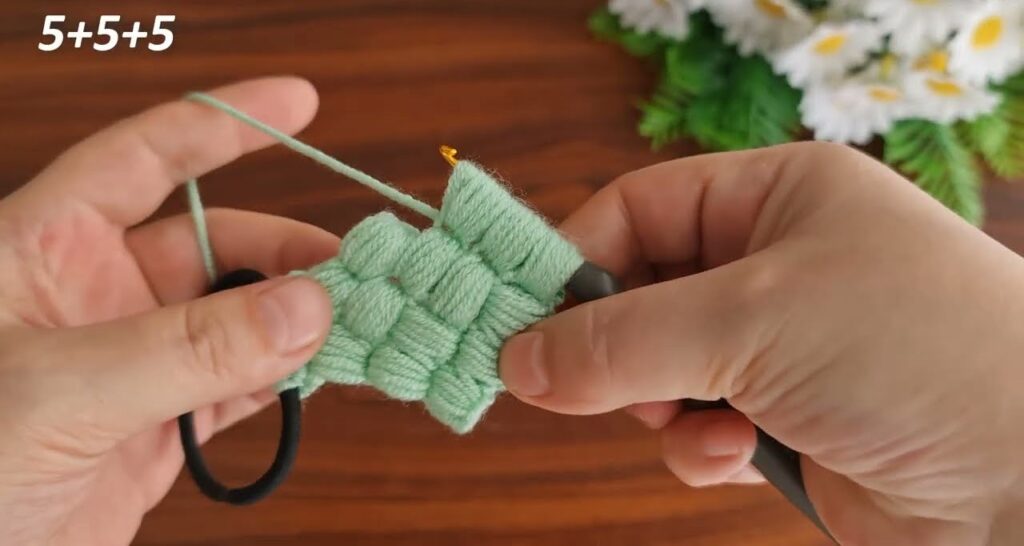
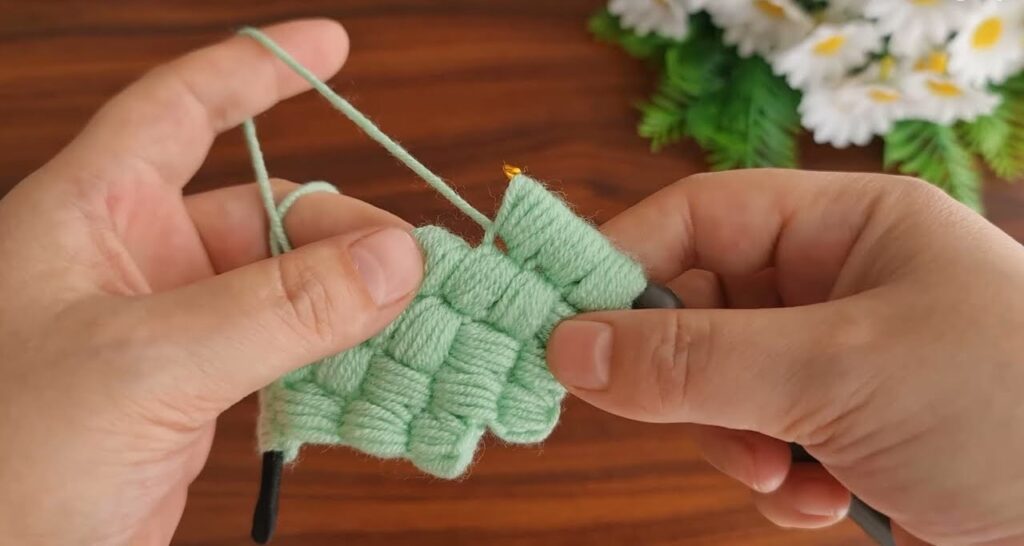
4. Interlacing the Loops
This is where the braid effect comes in.
- Take the first loop you made.
- Pass the second loop through the first.
- Take the third loop and pass it through the second.
- Repeat across the row → each new loop is pulled through the previous one.
👉 This creates the woven braid-like pattern.
5. Starting the Next Row
- At the end, chain 1 and turn.
- Insert your hook into the first stitch, pull up a tall loop, remove it.
- Repeat across → making a new row of loops.
- Then again, secure with a row of single crochets, and weave loops as before.
6. Continue Repeating
- Keep repeating Rows 2–5 until you reach the desired length.
- The braid grows row by row.
7. Finishing
- At the very end, after interlacing the last row of loops, pull your yarn tail through the final loop to lock.
- Cut yarn and weave in the ends.
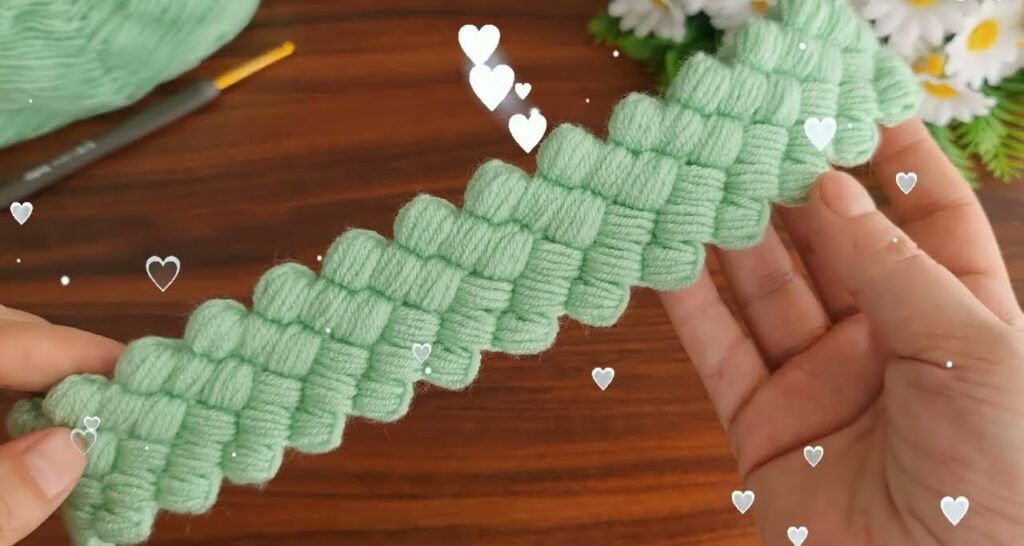
✨ Tips:
- Try to keep all loops the same height so the braid looks even.
- Use a smooth yarn (cotton or acrylic) so loops slide nicely.
- This stitch is perfect for bag straps, belts, hairbands, or edging.

