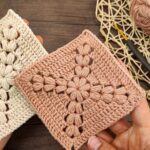
Awesome, let’s level it up! Here’s an advanced crochet hairband design with a twisted cable pattern that adds texture and style. Still a small project, but more fun and intricate for those comfortable with intermediate stitches.

🧶 Advanced Crochet Hairband
Materials:
- DK or Worsted weight yarn
- Crochet hook (4.0 mm–5.0 mm)
- Yarn needle
- Scissors
📏 Size:
Length: ~18–20″ (adjustable)
Width: ~3–4″ depending on your pattern repeats
🧵 Stitches & Terms (US):
- ch – chain
- sc – single crochet
- hdc – half double crochet
- fpdc – front post double crochet
- bpdc – back post double crochet
- dc – double crochet
- cable twist—using fpdc and skipping stitches to cross over
✨ Pattern:
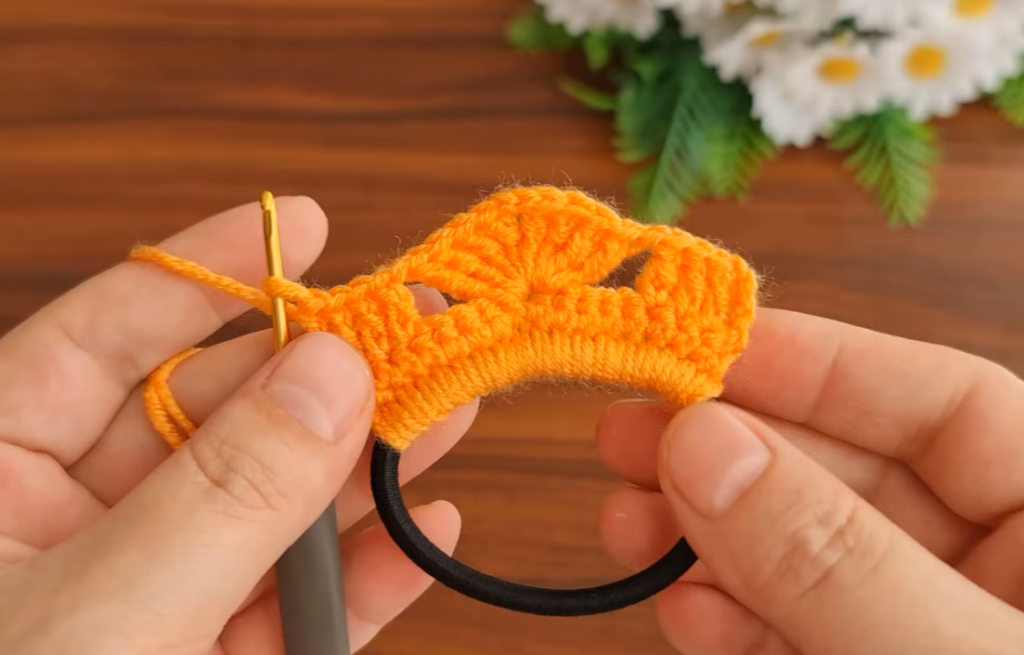
Foundation:
Ch 18 (or any multiple that fits your design width)
Row 1:
Hdc in 2nd ch from hook and in each across. (17 hdc)
Ch 1, turn.
Row 2:
Start ribbing edge
[Alternate FPDC, BPDC] across. (For the first and last 3 stitches—this forms a ribbed edge.)
Then:
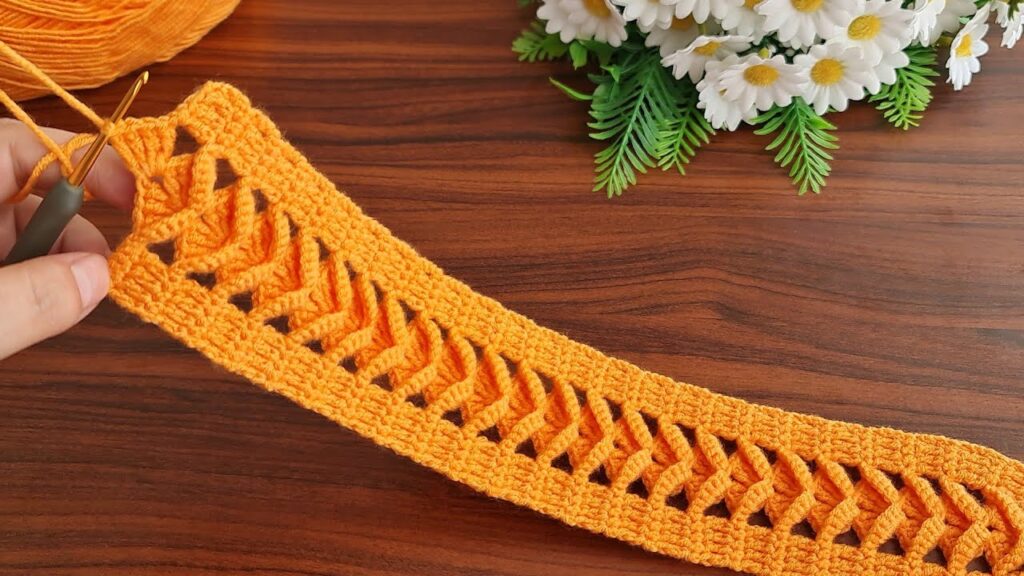
Fpdc in the next 4 sts, skip 2 sts, fpdc in the next 2, go back and fpdc in the 2 skipped sts (this forms the cable cross).
End with ribbing.
Ch 1, turn.
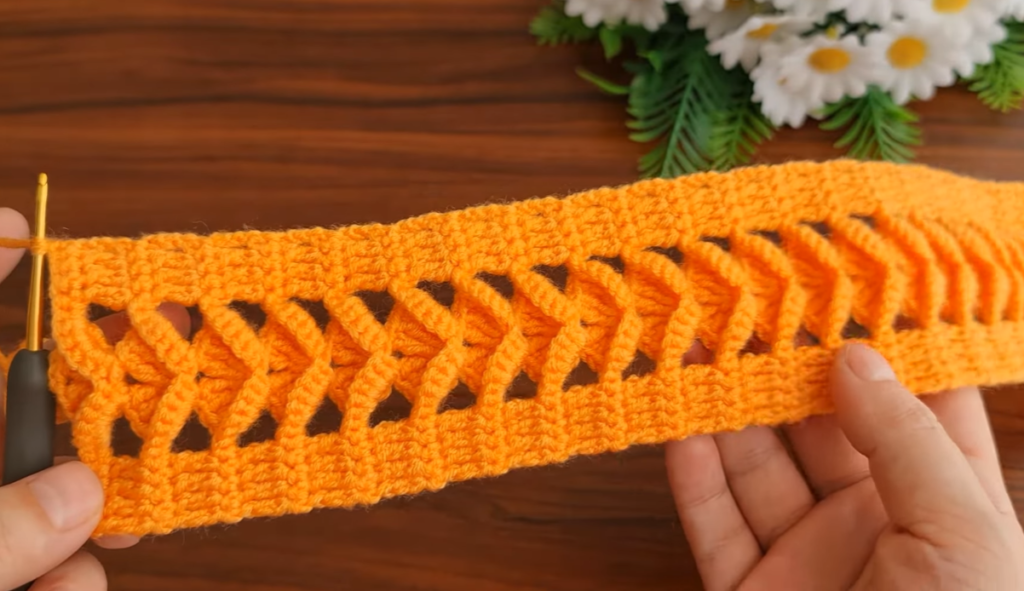
Repeat Row 2
Continue repeating the cable row for the desired length (~18–20″). Make sure to keep the twist crossing in the same direction every 4 rows to make it neat and defined.
🪡 Finishing:
- Fasten off, leaving a tail.
- Twist the band once (optional for the knot look).
- Sew the ends together securely.
🧁 Bonus Tips:
- Use chunky yarn for a warmer, wider headband.
- Add beads or buttons along the ribbing edges.
- Try it in neutral yarn for a boho look or bright colors for a fun vibe!
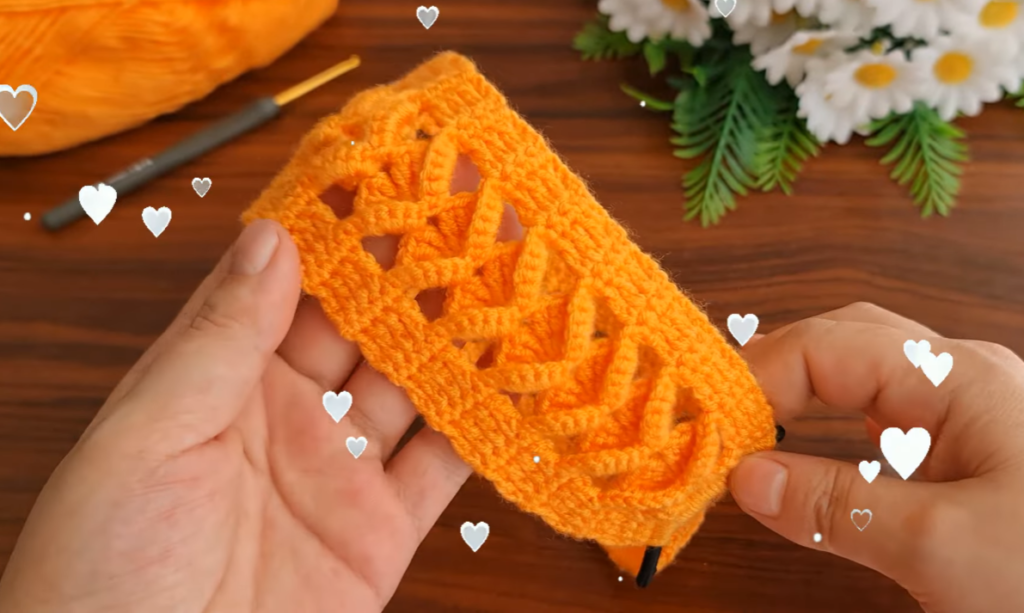
Video tutorial : How To Crochet Hairband Pattern