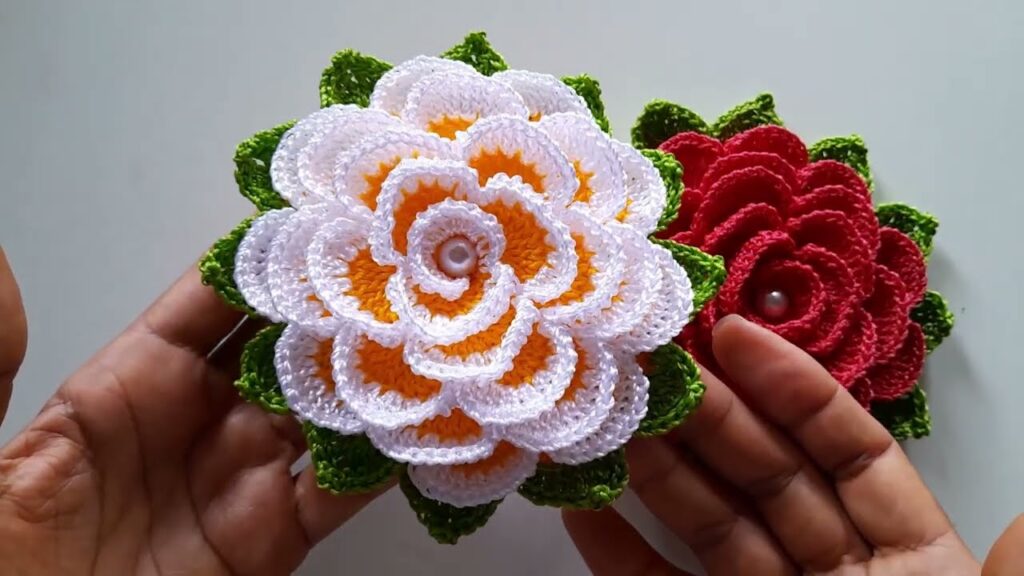
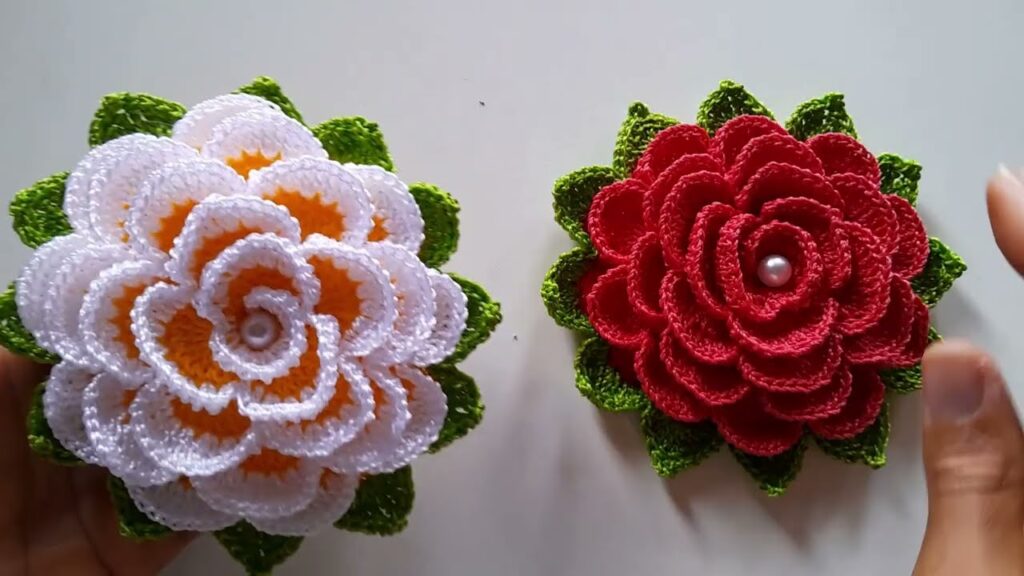
These beautiful crochet flowers are 3D layered roses with leaves — they look intricate but can be made step-by-step with basic crochet stitches. Here’s a detailed tutorial for making one like those in your image:
🧶 MATERIALS
- Crochet thread size 10 (or lightweight cotton yarn)
- Color A: Petal color (e.g., red or white)
- Color B: Center color (optional, e.g., orange)
- Color C: Leaf color (green)
- Crochet hook: 1.25 mm – 1.75 mm
- Scissors
- Tapestry needle
- Small pearl bead (optional)
- Starch spray (optional, to stiffen petals)
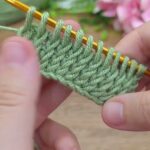
🌸 STEP 1: CENTER BASE (Round 1–2)
With Color B (center color)
1️⃣ Round 1:
- Make a magic ring, ch 3 (counts as 1 dc).
- Crochet 15 dc inside the ring.
- Join with sl st to the top of ch 3.
➡️ You have 16 dc.
2️⃣ Round 2:
- Ch 1, (sc in same st, ch 3, skip 1 st)* repeat around.
- Join with sl st into first sc.
➡️ You’ll have 8 ch-3 loops (for first petal layer).
🌹 STEP 2: FIRST PETAL LAYER (small petals)
Switch to Color A (main petal color)
3️⃣ Round 3 (Front Loops Only):
In each ch-3 space:
- (sc, hdc, 3 dc, hdc, sc)
- sl st into next sc to anchor.
Repeat for all 8 loops → You’ll have 8 small petals.
🪡 Optional: Use a slip stitch between petals to keep edges neat.
🌸 STEP 3: SECOND PETAL LAYER (medium petals)
Now we create loops behind the first petal layer to build up the next round.
4️⃣ Round 4 (Back Loops):
- Insert your hook behind Round 2 petals.
- Ch 4, sl st behind the next petal base → repeat all around.
➡️ You’ll have 8 loops behind your petals.
5️⃣ Round 5:
In each loop:
- (sc, hdc, 5 dc, hdc, sc)
- Sl st behind next petal to secure.
➡️ You’ll have 8 larger petals forming the second layer.
🌼 STEP 4: THIRD PETAL LAYER (large petals)
6️⃣ Round 6 (Back Loops Again):
- Behind Round 5, ch 5, sl st behind next petal → repeat all around.
➡️ You’ll have 8 loops again.
7️⃣ Round 7:
In each loop:
- (sc, hdc, 7 dc, hdc, sc)
➡️ Petals now look fuller and overlap previous ones.
🌸 STEP 5: FOURTH PETAL LAYER (outermost)
8️⃣ Round 8 (Back Loops):
- Ch 6, sl st behind next petal → repeat all around.
9️⃣ Round 9:
In each loop:
- (sc, hdc, 9 dc, hdc, sc)
➡️ These are the largest petals, giving a realistic rose look.
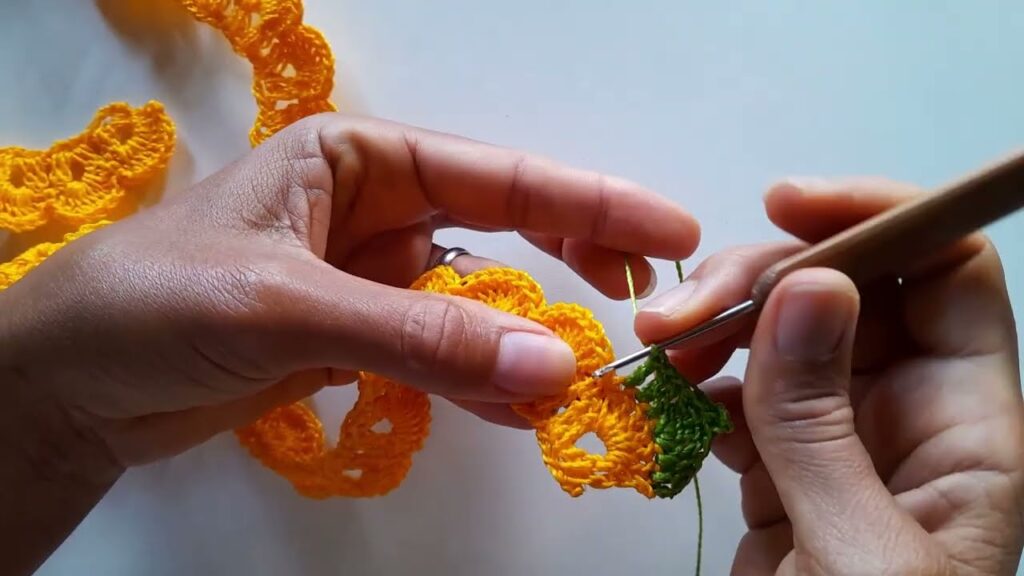
🍃 STEP 6: LEAF LAYER
Switch to Color C (green)
10️⃣ Round 10:
- Attach yarn to any back loop behind last petals.
- Ch 7, in same stitch: sc, hdc, 3 dc, hdc, sc.
- Sl st in next stitch, repeat all around.
➡️ You’ll form 6–8 green leaves around the base.
💎 STEP 7: FINISHING TOUCHES
- Fasten off and weave in all ends with a needle.
- Sew a pearl bead in the center for decoration.
- Shape petals with your fingers or lightly starch for firmness.
✨ OPTIONAL COLOR VARIATION (like the white/orange flower)
- Make Rounds 1–2 with orange yarn.
- Change to white yarn starting from Round 3 (petal rounds).
- Continue pattern as normal.
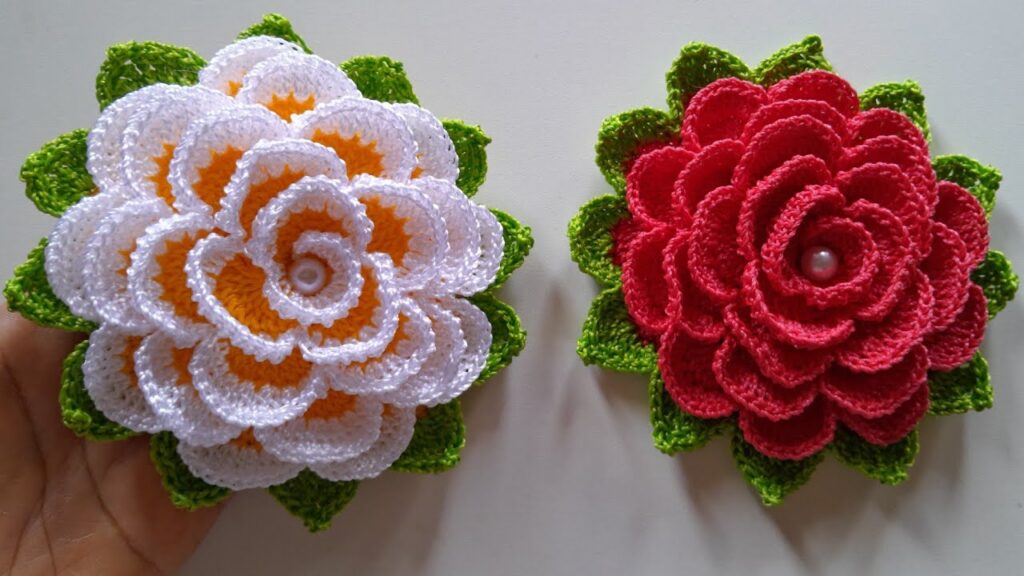
🌹 RESULT
You’ll have a 3D layered flower with:
- 4 layers of petals (each increasing in size)
- A realistic rounded shape
- A lush green leaf border