This pattern is a Jasmine Stitch / Starburst Puff Stitch crochet fabric.
It’s made of clusters of long puff stitches that join in the center to form flower/star shapes.
Below is a clear step-by-step tutorial so you can recreate exactly what you see.
🌟 FULL DETAILED JASMINE STITCH TUTORIAL
This stitch is worked by creating clusters of long puff stitches, and each flower/star = 3 puffs.
I will break everything into Rows, Puffs, Placement, and Illustrated logic so you can follow easily.

🧶 BEFORE YOU START
Use:
- Yarn: Medium 4 or DK
- Hook: 4 mm – 5 mm
- Technique: Keep all loops loose so the petals look large and soft.
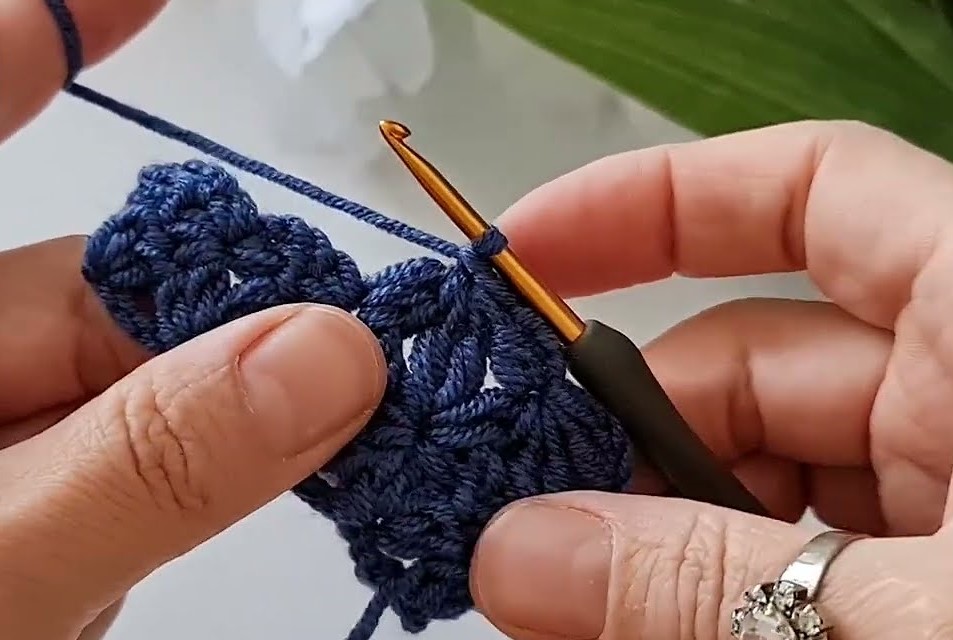
🔵 HOW EACH PUFF IS MADE (IMPORTANT!)
You will repeat this for every puff.
⭐ Standard Puff Stitch for Jasmine Stitch
- Insert hook into stitch/space.
- Yarn over, pull up a long loop (about 1.5–2 cm tall).
- Repeat steps 1–2 6 times (you will have many long loops on the hook).
- Yarn over, pull through all loops.
- Chain 1 to lock (VERY IMPORTANT!).
➡️ This “chain-1” is what creates the clean center of each flower.
🌼 STARTING THE FIRST FLOWER
STEP 1 — Start
- Make a slip knot
- Chain 1
STEP 2 — Puff 1
Into the chain-1:
- Make 6 long loops
- Pull through all
- Chain 1 to lock
STEP 3 — Puff 2
Into the top of Puff 1:
- Make same puff (6 long loops)
- Chain 1 to lock
STEP 4 — Puff 3 (Completes Flower)
Into both:
- The same space as Puff 2
- And the foundation chain area
❗ This is what gives the flower its round shape.
Make puff, chain 1 to lock.
🎉 You have your first complete starburst flower.

🌼 MAKING THE FIRST ROW (HORIZONTAL)
Every flower = 3 puffs.
For the next flower in the row:
Puff 1
Insert hook into the space between flower 1 and where flower 2 will begin
(usually the large gap beside the last puff)
Make puff, chain 1.
Puff 2
Insert hook into the top of Puff 1
Make puff, chain 1.
Puff 3
Insert hook into:
- the same place as Puff 2
- AND the previous flower’s connecting space
Make puff, chain 1.
Now you have 2 flowers.
Repeat until you finish your row.
🌼 STARTING ROW 2 AND ALL OTHER ROWS
This is the part people get confused with — here is the clear version.
When beginning a new row:
STEP 1 — Turn your work
STEP 2 — Starting Puff
Insert hook into the side space of the last flower of previous row.
Make Puff 1
Make Puff 2 (on top of Puff 1)
Then Puff 3 connects to the space between two flowers below.
➡️ This creates the diagonal “stacked flowers”.
STEP 3 — Middle Flowers of Row
They are made the same way:
For each new flower:
- Puff 1 → into the “V-gap” between flowers below
- Puff 2 → into top of Puff 1
- Puff 3 → into the same gap plus next gap down below
This locks the row tightly.
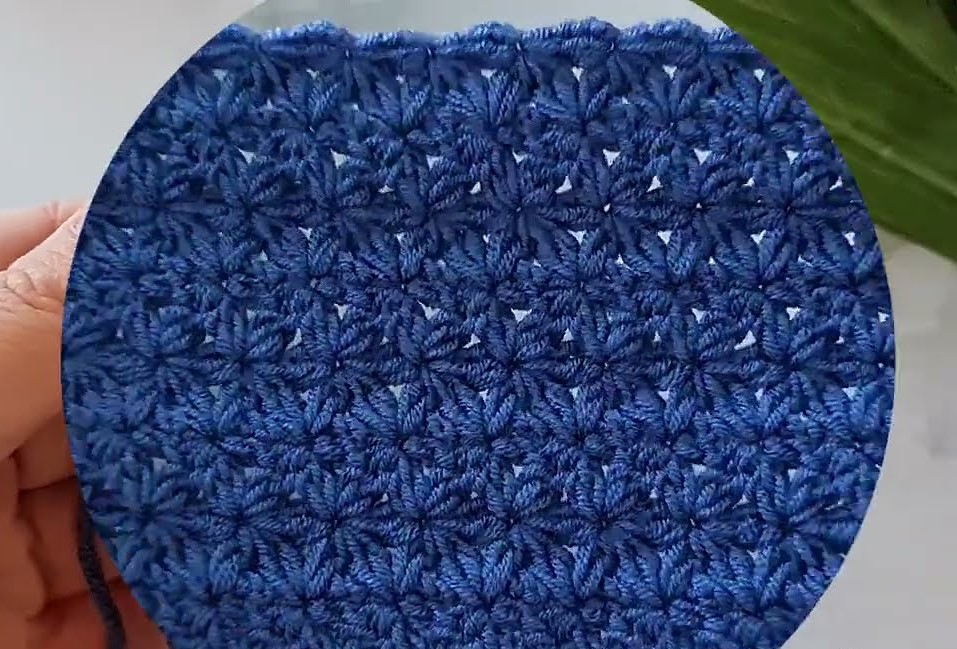
🔵 WHAT YOUR FABRIC SHOULD LOOK LIKE
You should see:
- Rows of big starburst flowers
- Every row offset like honeycomb
- Soft, puffy petals
- Perfectly round centers
Exactly like your photo.
🌟 VERY IMPORTANT TIPS
✔ Keep loops loose (tight loops = ugly flowers)
✔ Always chain 1 after each puff
✔ Pull loops evenly so petals are same size
✔ Don’t worry if first row looks messy — it always improves after row 2

