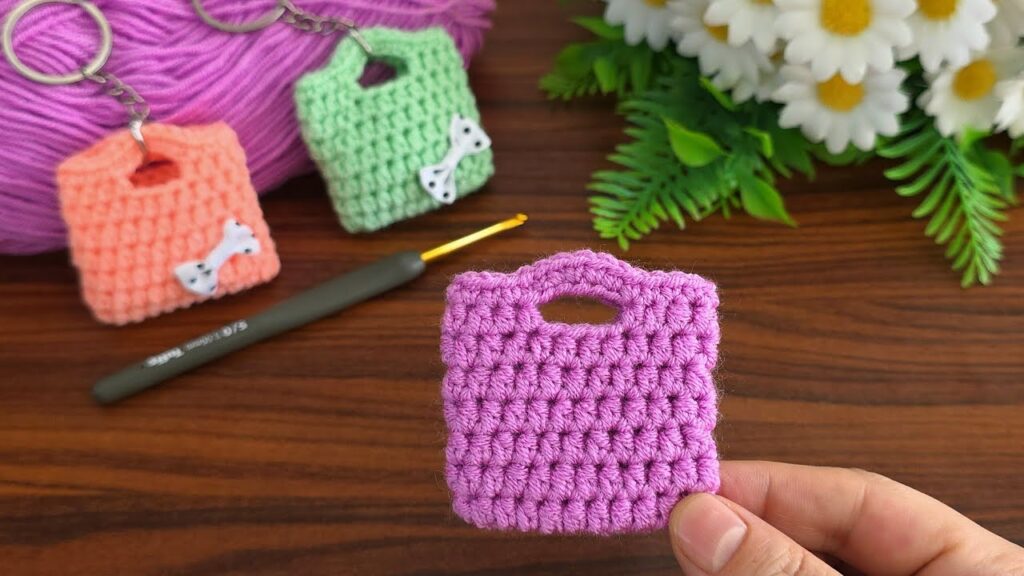
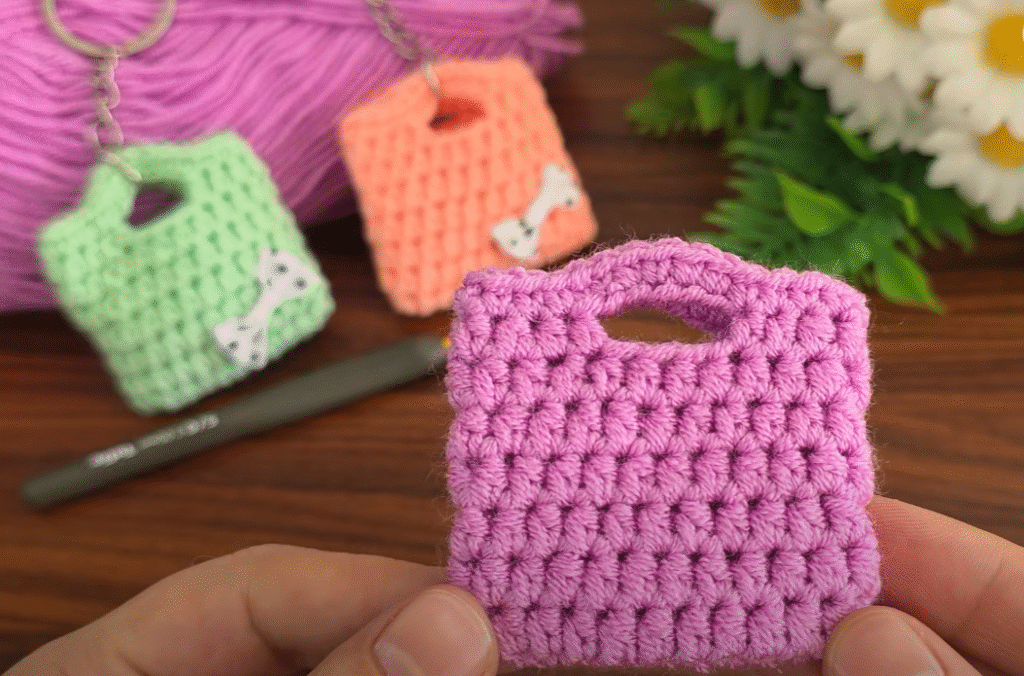
Great! Here’s a more detailed step-by-step guide to crochet the cute mini bag shown in this image, including stitch counts, row-by-row instructions, and assembly tips. This guide assumes basic crochet knowledge (like chaining and single crochet), but I’ll explain each part clearly.
🧶 Materials:
- Yarn: Medium-weight acrylic or cotton yarn (e.g., size 4)
- Hook: 3.5 mm to 4.0 mm crochet hook
- Notions: Yarn needle, scissors, optional keychain ring, and small bow embellishment
✨ Abbreviations (US Terms):
- CH = Chain
- SC = Single Crochet
- ST = Stitch
- SK = Skip
- SL ST = Slip Stitch
- FO = Fasten Off
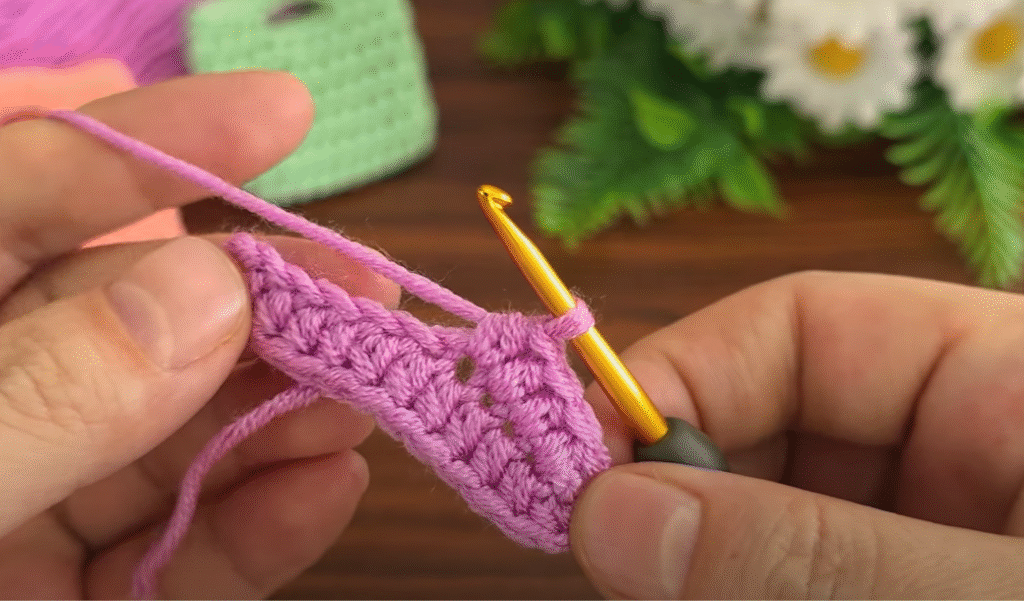
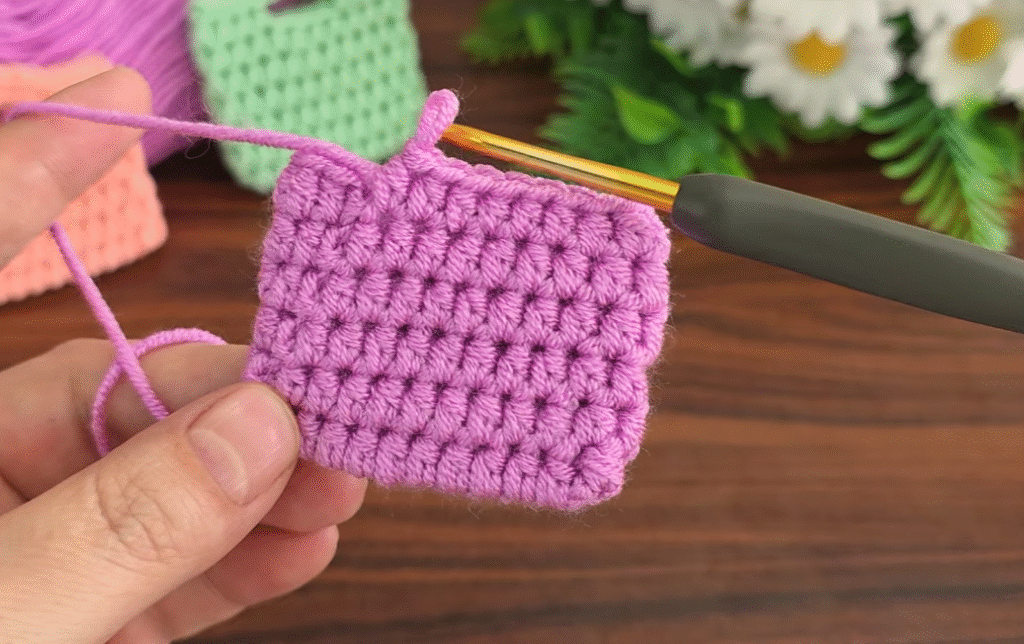
🧵 Step 1: Make the Front Panel
Foundation:
- CH 11 (this creates the width of the bag)
Row 1:
- SC in 2nd CH from hook, SC in each ST across (10 SC total)
- CH 1, turn
Row 2 to Row 8:
- SC in each ST across (10 SC)
- CH 1, turn after each row
➡️ You can add more rows here to increase the height of the bag (e.g., 10–12 rows total).
👜 Step 2: Create the Handle (Row 9)
This row will create the handle opening in the middle.
Row 9:
- SC in first 3 ST
- CH 4 (this creates the handle hole)
- SK 4 ST
- SC in last 3 ST (you now have a gap in the middle)
- CH 1, turn
🔄 Step 3: Finish the Handle (Row 10)
Row 10:
- SC in first 3 ST
- SC 4 times into the CH-4 space (you can SC around the chain or into it—your choice)
- SC in last 3 ST
- FO and weave in ends
Now you have the front panel of your mini bag!
🔁 Step 4: Back Panel
Repeat Step 1 only (Rows 1–8) to create a solid back panel without a handle.
➡️ If you prefer, you can fold the front panel in half instead of creating a separate back panel.
🧷 Step 5: Join the Panels
- Place front and back panels together, wrong sides facing in.
- Join yarn at the top side edge and SC through both layers along the side → bottom → side (3 edges).
- FO and weave in ends.
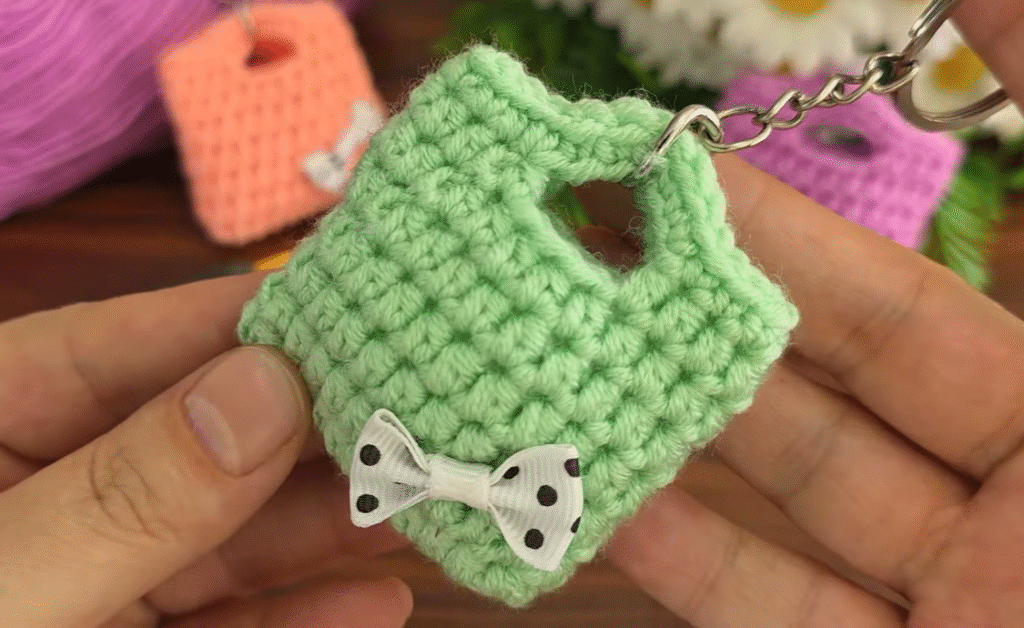
🎀 Step 6: Embellishment (Optional)
- Sew a small bow (fabric or crochet) onto the front panel.
- Use a yarn needle and small stitches to attach.
- If making a keychain, attach a jump ring or chain through the handle hole.
📏 Finished Dimensions:
- Approx. 2.5 to 3 inches tall and wide (can vary depending on yarn and hook)
Video tutorial : Beautiful crochet cute mini bag tutorial