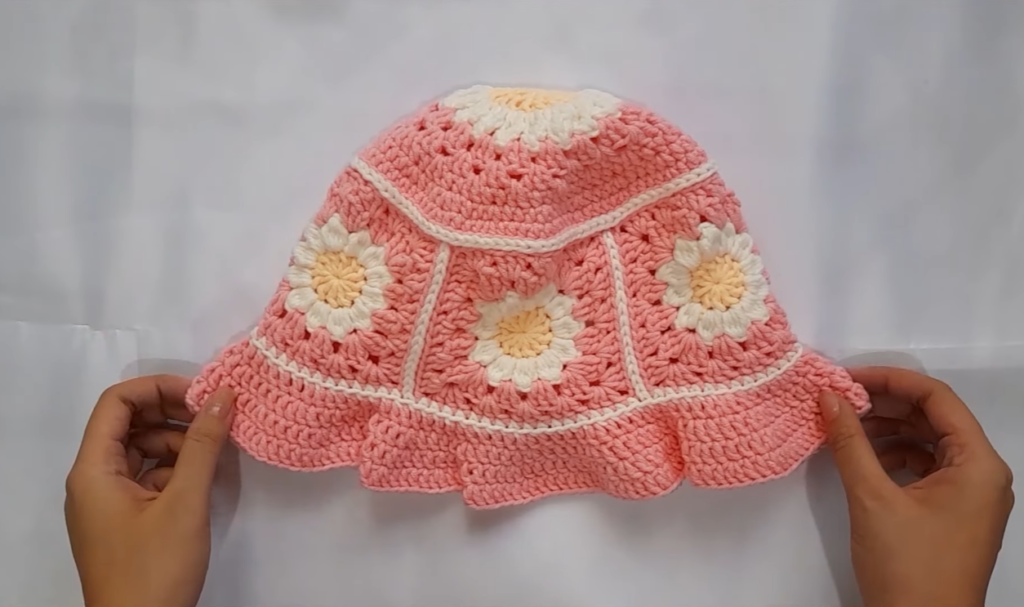
A crochet daisy granny square bucket hat is a trendy and fun project that combines classic granny squares with a bucket hat style. It usually features daisy motifs in each square, creating a vintage, cottagecore aesthetic.
🌼 Advanced Techniques to Use:
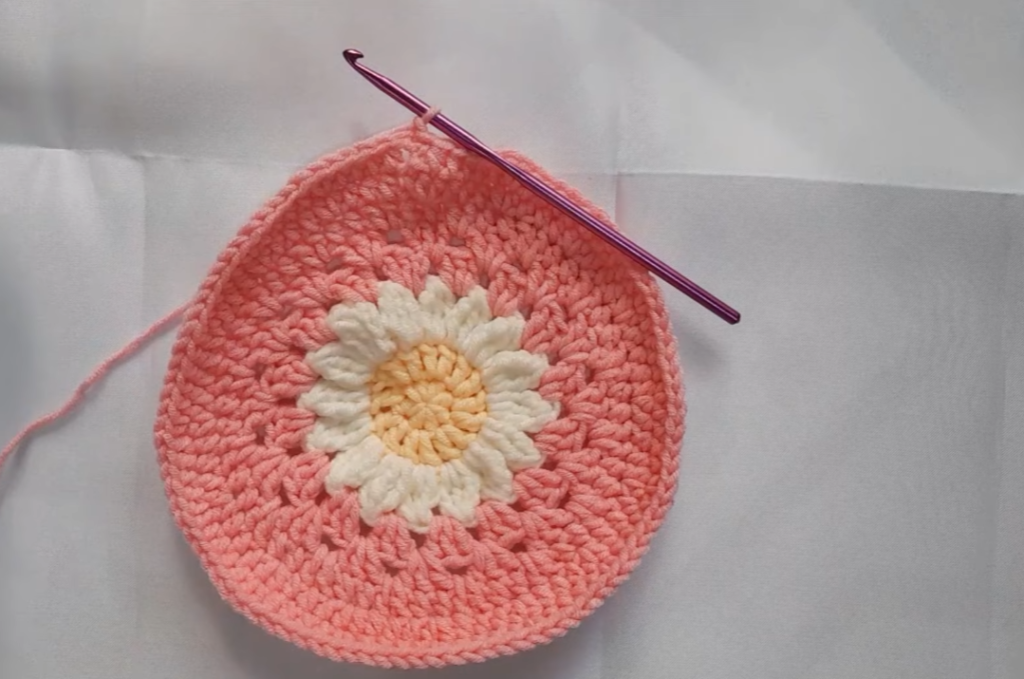
- Refined Daisy Granny Squares
- Instead of the standard Daisy Granny Square, try popcorn stitches for a raised petal effect.
- Use a lattice or openwork design to make the hat breathable.
- Consider a continuous join-as-you-go (JAYGO) method for a seamless look.
- Shaping the Hat for a Sleeker Fit
- Crown shaping: Instead of just sewing squares together, decrease stitches in the top center square to create a dome-like shape.
- Side panel modification: Use linked stitches or tapestry crochet to transition smoothly between squares without bulk.
- Structured Brim
- Wire or invisible thread: weave into the brim’s final round for a crisp edge.
- Flared brim option: Use short rows or increasing stitch counts for a wavy or floppier brim.
- Reinforced ribbing: Try a slip stitch or front post/back post technique for a sturdier brim.
- Color & Texture Enhancements
- Try a gradient or ombré effect by blending yarn colors in the daisy centers.
- Use moss stitch or puff stitches around the squares to add texture and contrast.
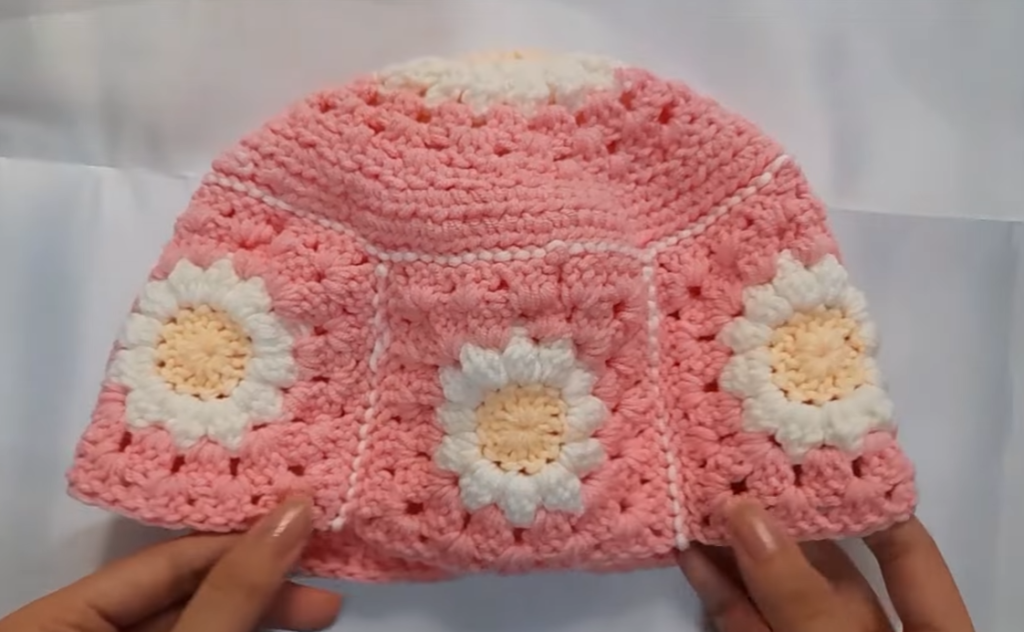
📏 Assembly Plan for a Snug, Structured Fit
- Crown: 1 modified granny square or a circle worked in a spiral method for a neater finish.
- Sides: 5-6 daisy granny squares joined with flat-slip stitch seams for less bulk.
- Brim: 5+ rounds, starting with a firm stitch (single crochet or half-double crochet) before transitioning into gradual increases for shaping.
🛠️ Finishing touches:
- Blocking: Wet block or steam to mold the shape.
- Inner Lining (Optional): Sew a fabric lining for a polished interior.
- Decorative Edge: Add a picot, shell, or scalloped trim to the brim.
Would you like a step-by-step pattern or a specific section breakdown? Let me know how detailed you want it! 😃
Pattern video : Beautiful Crochet Bucket Hat Pattern