Great, let’s go step by step, exactly like the photo 🧶
This project has 2 main parts:
- Wrapped fan base using a plastic lid
- Thick textured crochet bowl
I’ll explain every movement clearly.
MATERIALS
- Yarn: Medium / cotton yarn (2 colors)
- Crochet hook: 3.5–4 mm
- Plastic lid or round container (10–12 cm)
- Scissors
- Yarn needle

PART 1: FAN / SUNBURST BASE (VERY DETAILED)
STEP 1: Magic ring center
- Make a magic ring
- Chain 1
- Crochet 6 single crochet (SC) into the ring
- Pull ring tight
- Slip stitch into first SC
👉 You now have a small flat circle
STEP 2: Prepare for wrapping
- Do NOT turn
- Chain 1
- Insert hook into any SC
- Pull yarn through (slip stitch)
- Leave this stitch on hook
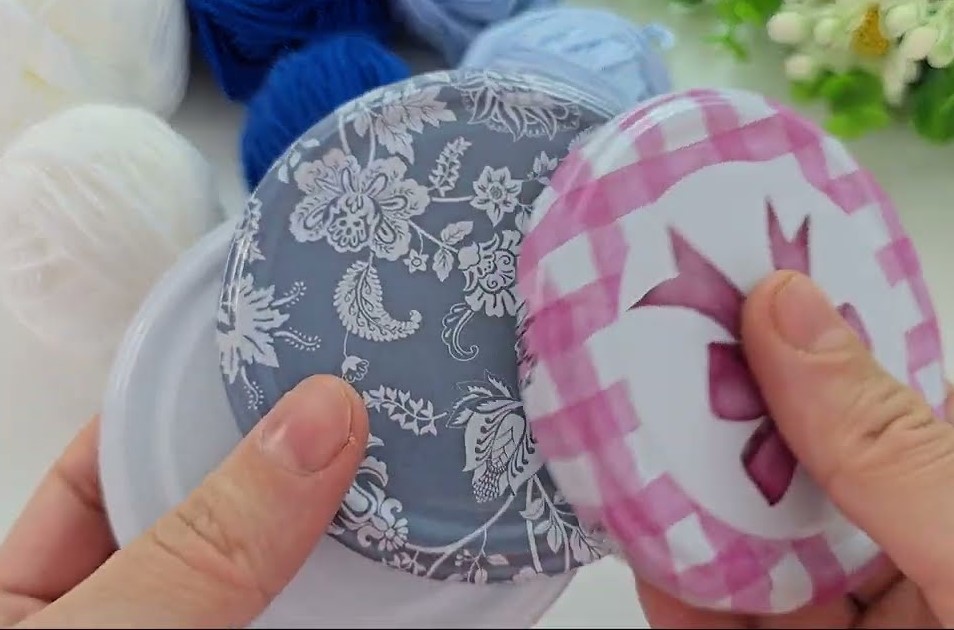
STEP 3: Wrap yarn around the lid (IMPORTANT)
- Place the crochet circle against the edge of the lid
- Hold yarn firmly
- Wrap yarn over the lid, all the way around to the back
- Bring yarn back to the stitch
- Insert hook into the next SC
- Slip stitch to lock the wrap
➡ You made one long wrapped strand
STEP 4: Repeat wrapping
- Repeat STEP 3 for every stitch
- Keep wraps:
✔ tight
✔ evenly spaced
✔ flat (not twisted)
💡 The lid controls the height and shape
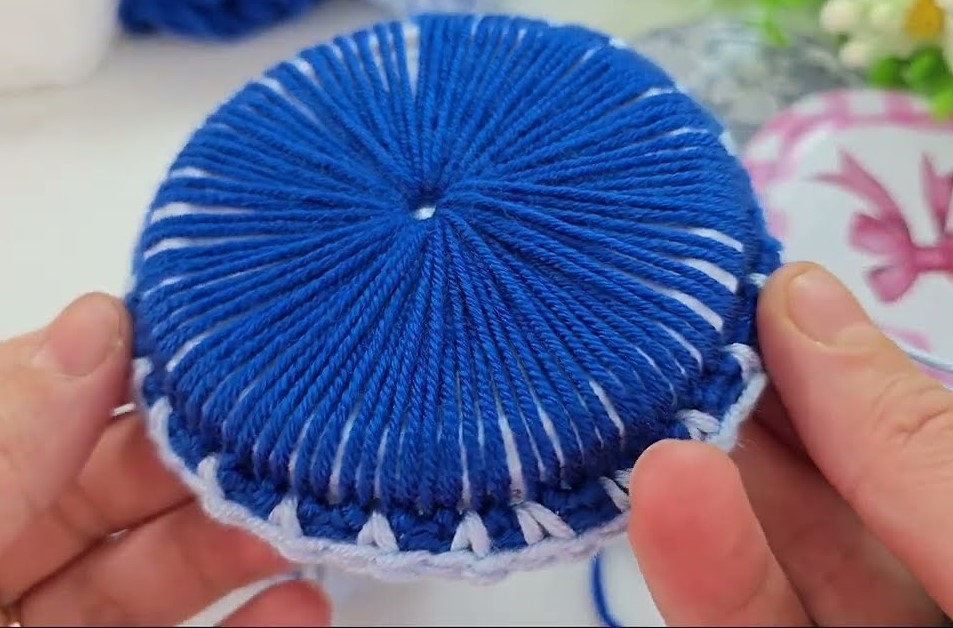
STEP 5: Secure the fan
- Remove the lid carefully
- You now have loose long strands
- Crochet 1 SC around each wrapped strand
- Work slowly to keep even tension
👉 This creates a strong, thick semicircle base
PART 2: TURN BASE INTO A BOWL
STEP 6: Shape the curve
- Crochet 1 SC in each stitch
- Do NOT increase
- This forces the fabric to curl upward
💡 If it stays flat → use smaller hook
PART 3: TEXTURED STRIPE STITCH (KEY DETAIL)
This stitch creates the thick woven look
STEP 7: Double single crochet stitch
For each stitch:
- Insert hook into stitch
- Yarn over, pull up loop
- Insert hook again into same stitch
- Yarn over, pull up loop (3 loops on hook)
- Yarn over, pull through all loops
➡ This makes one thick stitch
STEP 8: Color change
- Finish last stitch before color change
- Pull new color through final loop
- Continue stitch pattern
💡 Change color every round for clean stripes

STEP 9: Build the sides
- Crochet 6–10 rounds
- Keep stitch count the same
- Do not increase or decrease
PART 4: TOP EDGE FINISH
STEP 10: Clean border
- Crochet 1 round of normal SC
- Slip stitch to close
- Cut yarn
- Weave in ends
FINAL RESULT
✔ Firm structure
✔ Thick texture
✔ Clean striped look
✔ Perfect small basket

