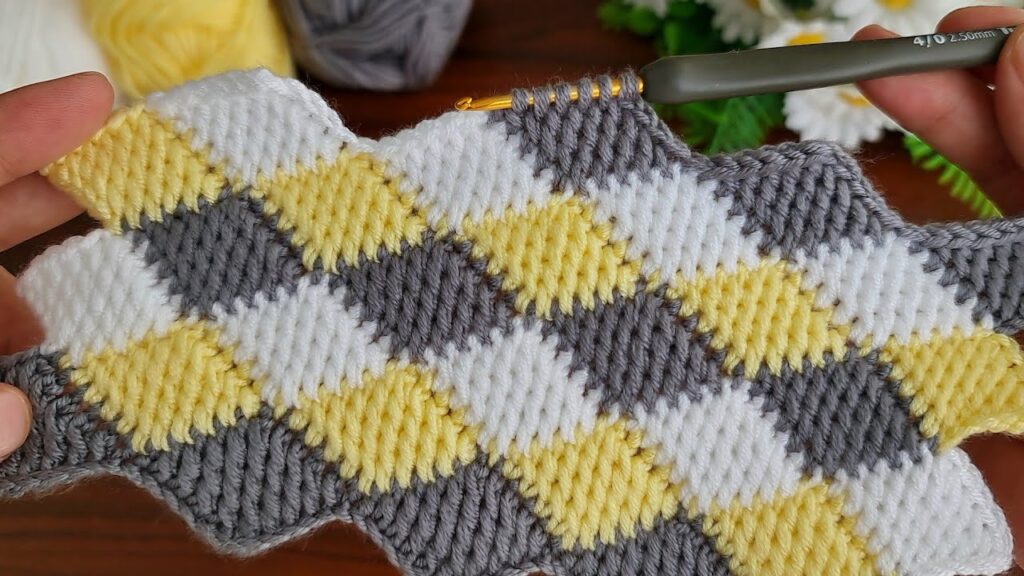
The crochet piece you shared is called Entrelac Tunisian Crochet. It creates a textured diamond-checker pattern by working small squares/rectangles in alternating directions.
Here’s a step-by-step guide to make it:
🧶 Step-by-Step Guide to Crochet Entrelac Tunisian Pattern
1. Foundation Base
- Decide block size: In your picture, each square has about 6 stitches across and 6 rows high.
- Chain a multiple of 6 (example: chain 24 if you want 4 blocks wide).
2. First Row of Squares
Each square is made individually.
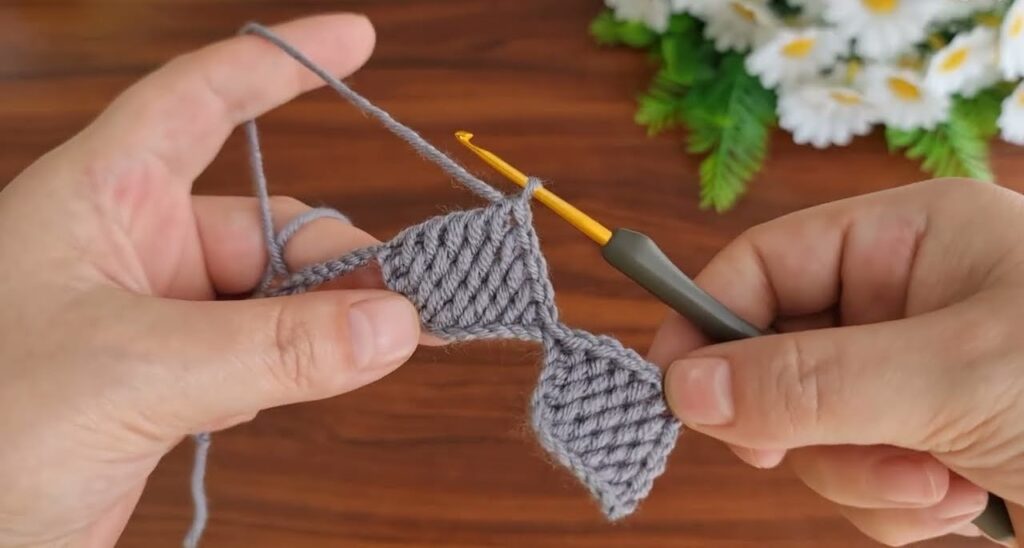
Square 1:
- Insert hook in first chain, pull up a loop. Continue until you have 6 loops (1 loop per chain).
- Return pass: yarn over, pull through 1 loop. Then yarn over, pull through 2 loops at a time until 1 loop remains.
- Forward pass again: insert hook under vertical bars of each stitch, pick up 6 loops.
- Return pass again.
- Repeat until you have 6 rows → you made a square.
Square 2 (and others in row):
- Without cutting yarn, insert hook into the next chain and repeat the process.
- Work 6 loops, then return pass.
- Continue until the end of the row → you’ll have a strip of connected squares.
3. Next Row of Squares (joining upwards)
Now you’ll build on the side of the previous row.
- Attach new color (optional, like yellow/grey/white in your picture).
- Insert hook into the side edge bars of the first square from previous row. Pick up 6 loops (one per row side).
- Work return pass as usual.
- Continue 6 rows → that makes the new square.
Move to the next square:
- Pick up stitches from the top of the next square below.
- Work another 6×6 square.
4. Repeat Rows
- Alternate directions (one row left-to-right, next row right-to-left).
- Change colors each row or every 2–3 squares for a checkered look.
- Keep repeating until you reach the desired size.
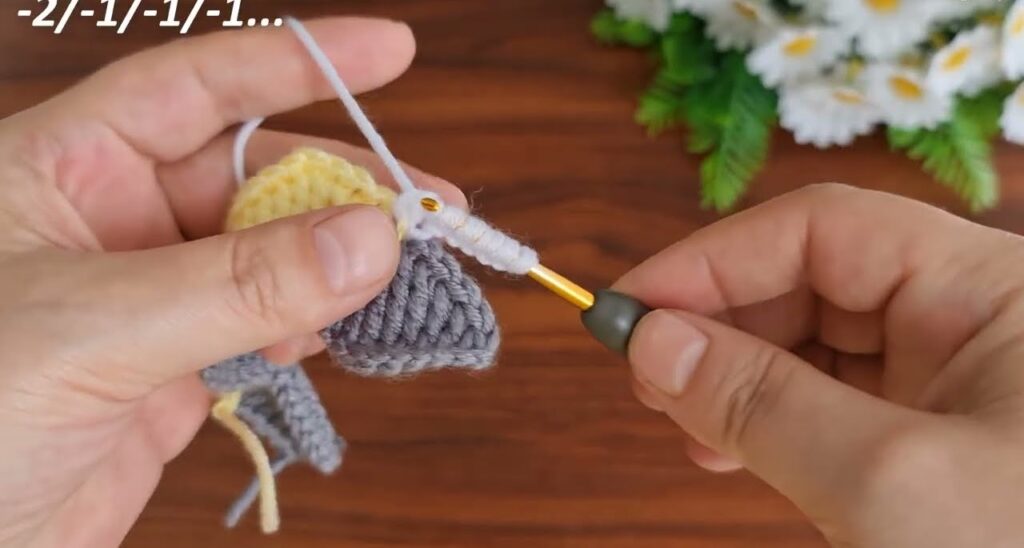
5. Edging / Finishing
- To get a straight edge, you can crochet half-squares (triangles) instead of full squares at the sides.
- To do a triangle:
- Start with 6 stitches.
- Each row, decrease 1 stitch (leave last bar unworked).
- After 6 rows, you’ll have a triangle that fills the gap.
- Bind off by slip stitching across the top edges.
- Weave in ends.
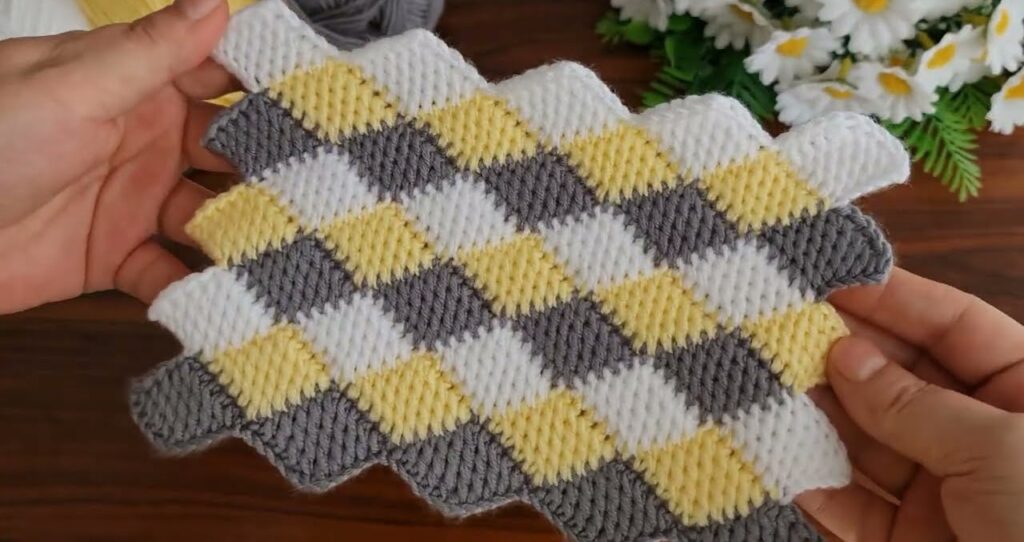
✅ That’s how your grey, white, and yellow diamond piece is made.

