This easy crochet hairband is the perfect accessory to keep you warm and in style! The tutorial will dive into the details of how to work up this crochet headband in no time!
🧶 Crochet Knit-Like Hairband Pattern (Basketweave Stitch)
🧵 Supplies Needed:
- Yarn: Worsted weight (#4), cotton or acrylic
- Hook: 5.0 mm (H/8) or size needed to match gauge
- Button: About 1″ large (wooden or decorative)
- Tapestry needle
- Scissors
- Measuring tape
🔁 STITCH GLOSSARY (US Terms)
| Abbreviation | Meaning |
|---|---|
| ch | chain |
| dc | double crochet |
| FPdc | front post double crochet |
| BPdc | back post double crochet |
| sc | single crochet |
| sl st | slip stitch |
📏 Step 1: Measure and Chain Foundation
Measure around your head where you want the headband to sit (usually around the forehead to the nape of the neck). Subtract 1 to 1.5 inches for stretch.
- Example head circumference: 22 inches
- Gauge: ~4 stitches per inch
- Ch: 88 chains
🧶 Tip: Chain in multiples of 6 for this stitch pattern (e.g., 72, 78, 84, 90…)
🪡 Step 2: Join and First Round
- Ch 88 (or your chosen number).
- Make sure the chain isn’t twisted, and join with a sl st to the first ch to form a ring.
- Ch 2 (does not count as a stitch).
- Dc in each chain around.
— You should now have 88 dc.
— Join with sl st to the top of the first dc.
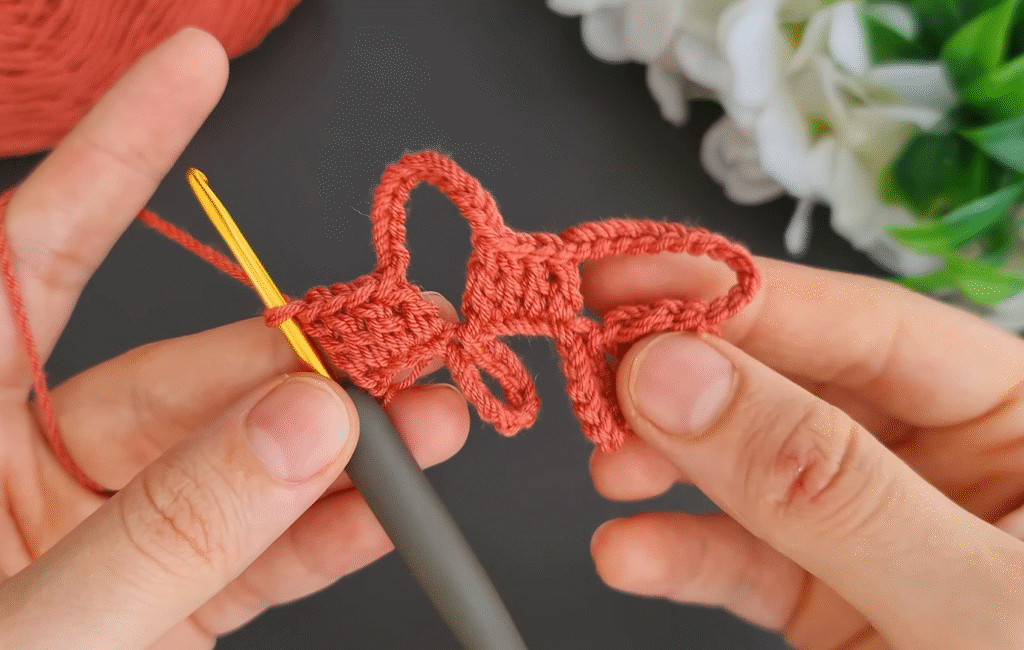
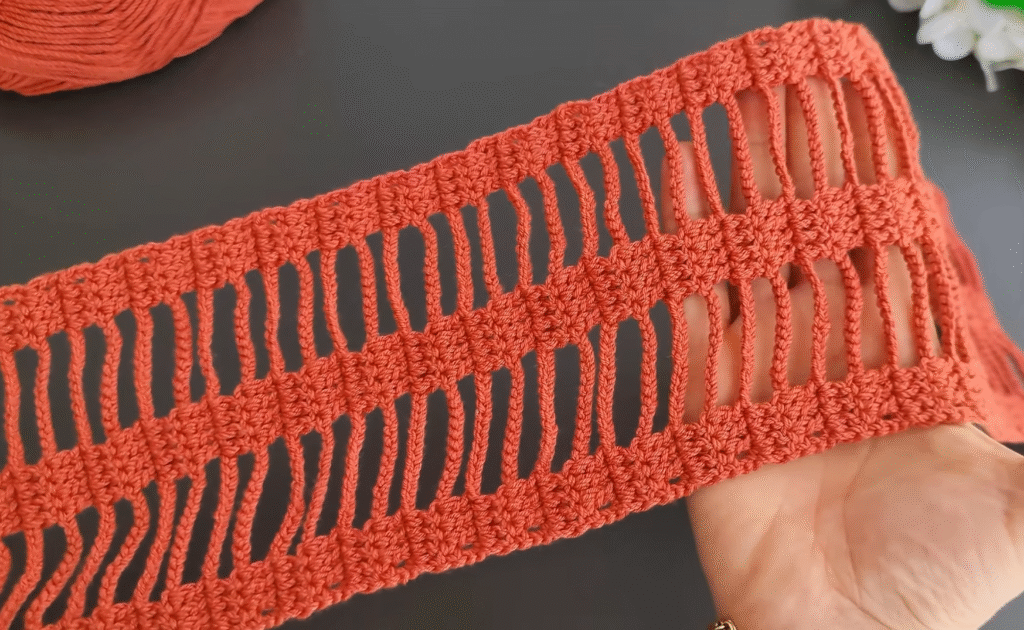
🧱 Step 3: Basketweave Stitch (Main Texture)
The basketweave is made by alternating 3 FPdc and 3 BPdc. You’ll do this over a series of rows to build the “brick” effect.
🔁 Round 2 – Basketweave Begins:
- Ch 2 (does not count as a stitch).
- FPdc in next 3 sts, BPdc in next 3 sts — repeat all the way around.
- Join with a sl st to the top of the first FPdc.
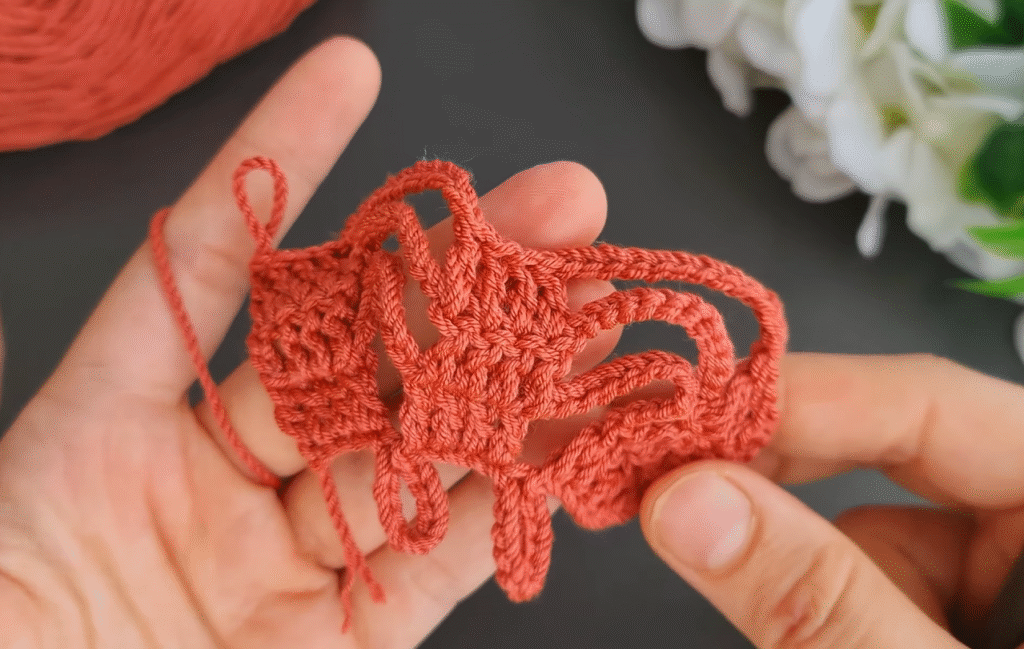
You’ll start to see a ribbed pattern forming.
🔁 Rounds 3–4 – Repeat Pattern:
- Repeat Round 2 exactly to create vertical “ribs.”
- Now you have 3 rounds of basketweave in one direction.
🔁 Round 5–7 – Switch Posts:
To create the checkerboard “weave” look:
- Ch 2
- BPdc in next 3 sts, FPdc in next 3 sts — repeat around.
- This switches the raised/indented parts.
Repeat for 3 rounds.
✅ Continue alternating every 3 rows:
- Rounds 8–10: FPdc x3, BPdc x3
- Rounds 11–13: BPdc x3, FPdc x3
(You can stop after about 5 or 6 groups depending on how wide you want the headband.)
✂️ Step 4: Finishing Edge
Optional but makes it neat:
- Work 1 round of sc evenly around the top and bottom edges of the band.
- This straightens and stabilizes the border.
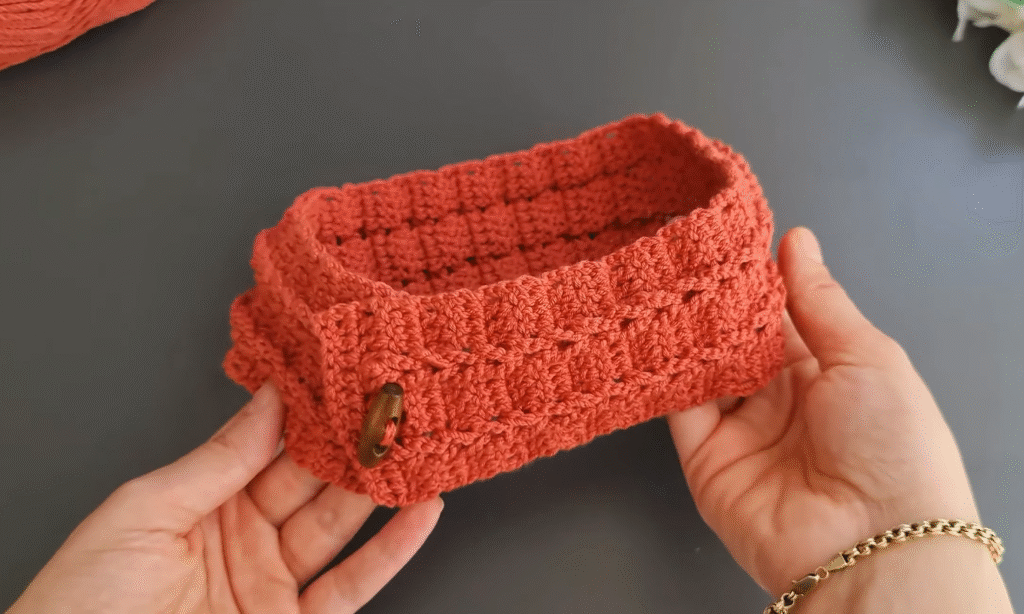
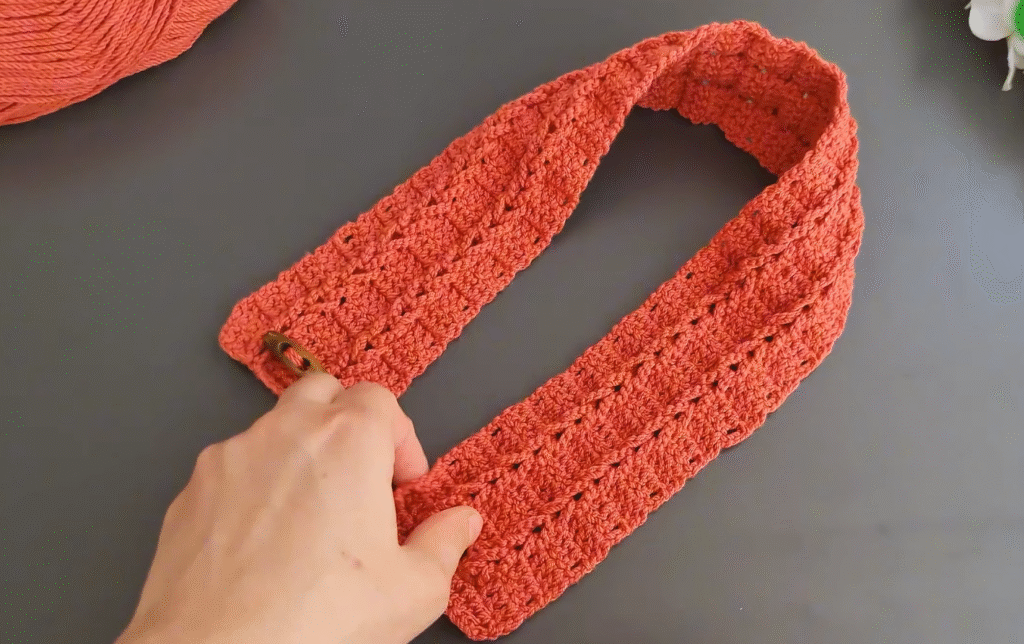
🔘 Step 5: Button Tab Closure
This is decorative and optional, but matches the photo you provided.
Tab Instructions:
- Ch 7
- Row 1: Sc in 2nd ch from hook and across (6 sc), turn.
- Row 2–4: Ch 1, sc across. (Adjust number of rows to your desired length)
- Fasten off and weave in ends.
- Sew the short side of the tab to one end of the band.
- Attach button to the opposite side of the band (line up so it “fits” into the tab).
✅ Final Notes:
- This pattern gives a knit-like look due to the raised basketweave structure.
- If the headband is too tight or loose, adjust the starting chain (in multiples of 6).
- Block the headband gently if you want it more structured.
Video tutorial : Beautiful crochet hairband can you make