This is a fork-wrapped yarn flower (no crochet hook needed). Here’s a clear step-by-step tutorial 🌸
🌸 Fork Yarn Flower – VERY DETAILED TUTORIAL 🌸
Materials
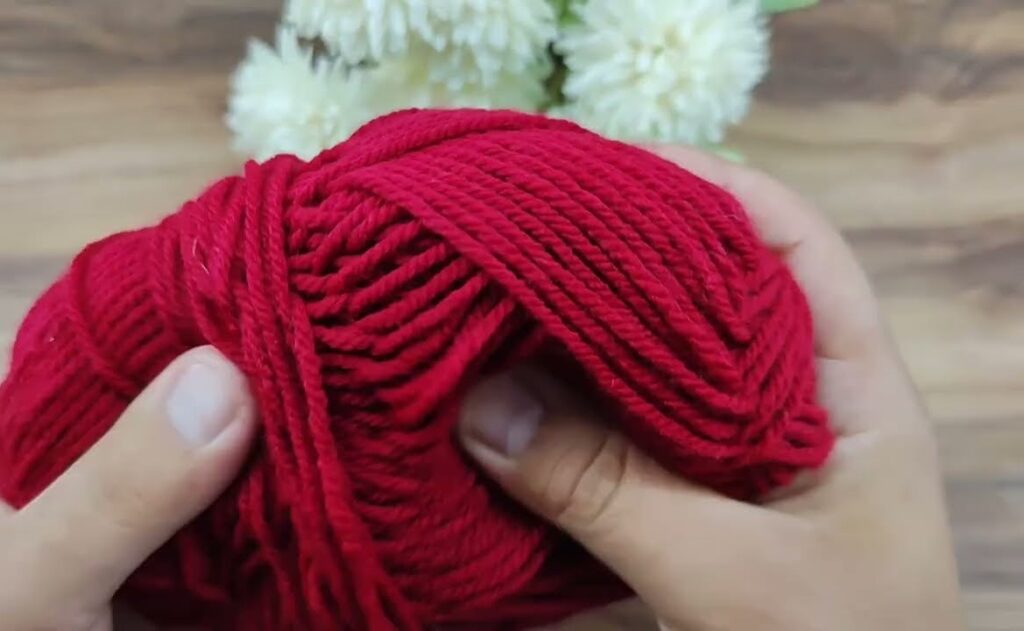
- Yarn (medium or chunky yarn is best)
- Fork (4 teeth)
- Scissors
- Pearl / bead (optional)
- Needle & thread or glue (optional)

STEP 1: Prepare the yarn
- Cut nothing yet.
- Leave a long tail (about 10–15 cm).
- Hold this tail against the back of the fork, across the middle.
👉 This tail will be used to tie the flower center later.
STEP 2: Wrap the yarn on the fork
- Start wrapping yarn around all 4 fork teeth.
- Wrap from left to right, then back again.
- Keep wraps tight but not too tight.
How many wraps?
- Small flower: 20–25 wraps
- Medium flower: 30–35 wraps
- Big fluffy flower: 40+ wraps
✨ The more wraps = fuller flower.
STEP 3: Tie the center (MOST IMPORTANT STEP)
- Cut the yarn, leaving another 10–15 cm tail.
- You now have two tails (start tail + end tail).
- Push both tails between the two middle fork teeth.
- Pull VERY TIGHT.
- Make a double knot.
⚠️ Tight knot = flower won’t fall apart.
STEP 4: Remove from fork
- Gently slide the tied yarn bundle off the fork.
- You will see a bow-tie shape.

STEP 5: Cut the loops
- On one side of the bow, insert scissors.
- Cut straight through all loops.
- Turn over and cut the loops on the other side.
✂️ Now it looks messy — that’s normal!
STEP 6: Shape the flower
- Fluff the yarn using your fingers.
- Trim little by little to make a round shape.
- Turn it while trimming for evenness.
💡 Tip: Trim slowly — you can always cut more.
STEP 7: Make the center (optional)
Option 1: Pearl / bead
- Sew or glue a pearl in the middle.
Option 2: Yarn center
- Wrap a small yarn strand tightly around the center
- Tie at the back
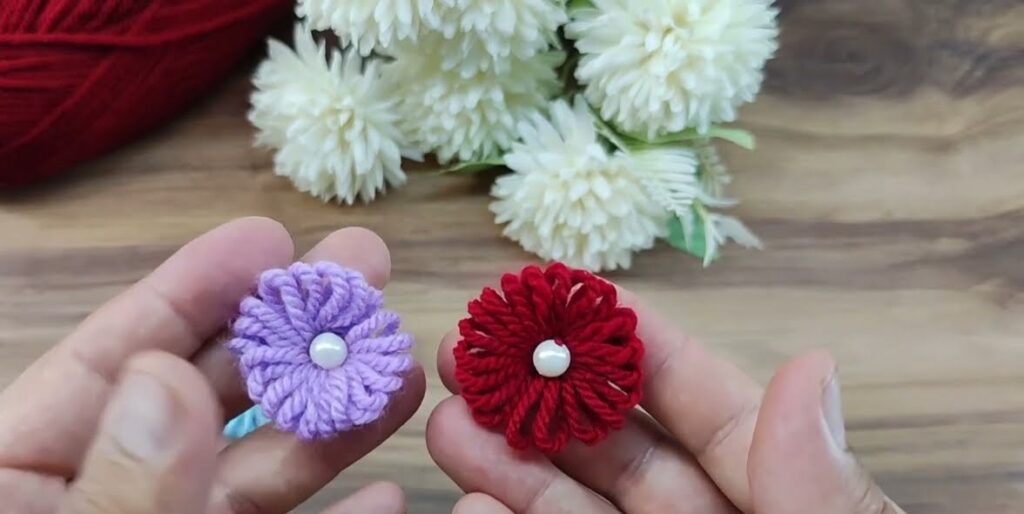
STEP 8: Finished!
You now have a soft, puffy yarn flower 🌼
Uses
- Bags
- Hair clips
- Headbands
- Pillow decoration
- Blankets
- Wall decor

