Here’s how to make the crochet twisted oval (wave) motif strip shown in your picture.
This pattern is made from repeated oval motifs that are joined together with a small twist connector between each oval.
🧶 FULL DETAILED STEP-BY-STEP TUTORIAL
⭐ PART 1 — OVAL MOTIF (1 piece)
Each oval is made from a small flat circle → then extended → then edged with puff stitches.
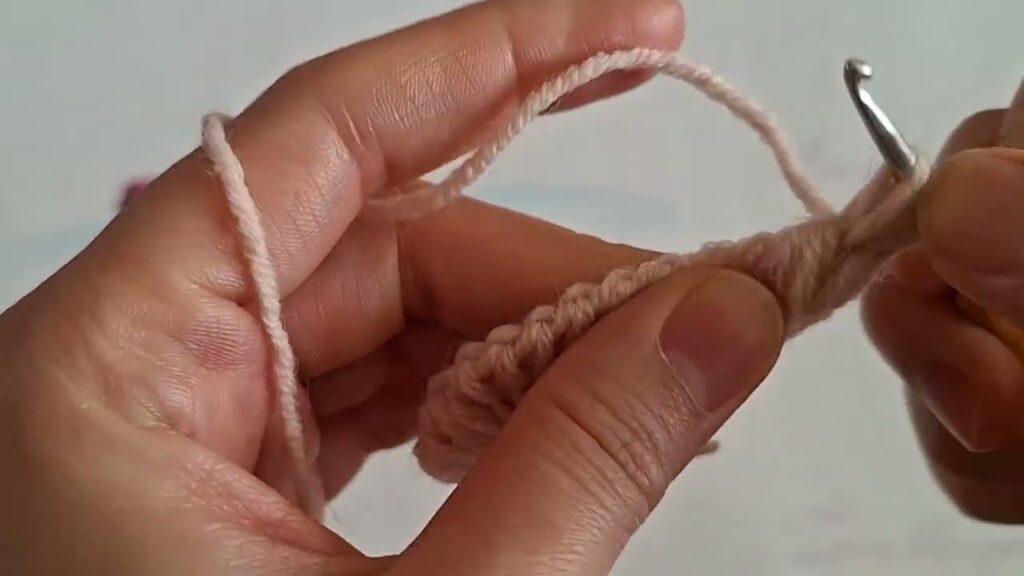
1️⃣ Start the center circle
- Make a magic ring
- Chain 2 (does NOT count as a stitch here)
- Work 12 half double crochet (hdc) inside the ring
- Pull ring tight
- Slip stitch to the first hdc to close (12 stitches total)

⭐ PART 2 — FORM THE OVAL SHAPE
We now stop working in rounds.
We work in rows, back and forth, to stretch the circle into an oval.
2️⃣ Row 1
- Chain 1, turn
- Work 1 hdc in each of the 12 stitches
- Do NOT join — this is a row.
(Still 12 stitches.)
3️⃣ Row 2 — start the oval
Increase at both ends:
- Chain 1, turn
- 2 hdc in first stitch
- 1 hdc in next 10 stitches
- 2 hdc in last stitch
→ 14 total stitches
4️⃣ Row 3 — widen the oval
- Chain 1, turn
- 2 hdc in first stitch
- 1 hdc in next 12 stitches
- 2 hdc in last stitch
→ 16 total stitches
Now your piece looks long and oval-like.
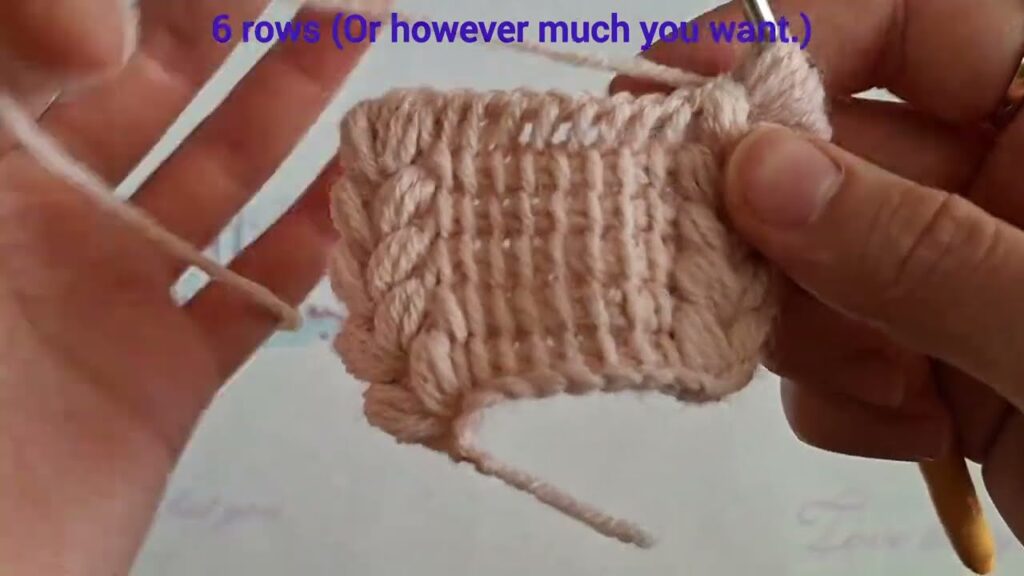
⭐ PART 3 — PUFF EDGING (the thick border)
This part creates the large puffy texture you see in your photo.
Work around the ENTIRE oval.
Puff stitch (used here):
- Yarn over
- Insert hook, pull up a loop
- Repeat 3 times (you will have 7 loops)
- Yarn over, pull through all loops
- Chain 1 to close puff
5️⃣ Round the edge with puff stitches
Starting in any side stitch:
Around the whole oval:
- Puff stitch
- Skip 1 stitch
- Slip stitch in next stitch
Repeat until you return to start.
This forms the thick, rounded border.
You now have one completed oval motif.
⭐ PART 4 — THE TWISTED BRIDGE (the connecting part)
This small piece between each oval is what gives the “twisting wave” look in your strip.
6️⃣ How to connect ovals
After finishing Oval #1:
Connector:
- Chain 3
- Make 1 puff stitch into the last slip stitch
- Chain 1
- Make another puff stitch next to it
- Chain 3
This creates a tiny “twist” element.
Attach to next oval
- Insert hook into the center of Oval #2 (usually first hdc of Row 1)
- Slip stitch to attach
- Begin Oval #2 from the center circle again (repeat Steps 1–5)
Continue repeating
Oval → Connector → Oval → Connector

⭐ PART 5 — TIPS FOR PERFECT SHAPE
✔ Use thick yarn (like yours) for strong puff texture
✔ Keep puff stitches uniform
✔ Ensure both sides of the oval mirror each other
✔ Pull connecting chains tight so the twist sits nicely between ovals

