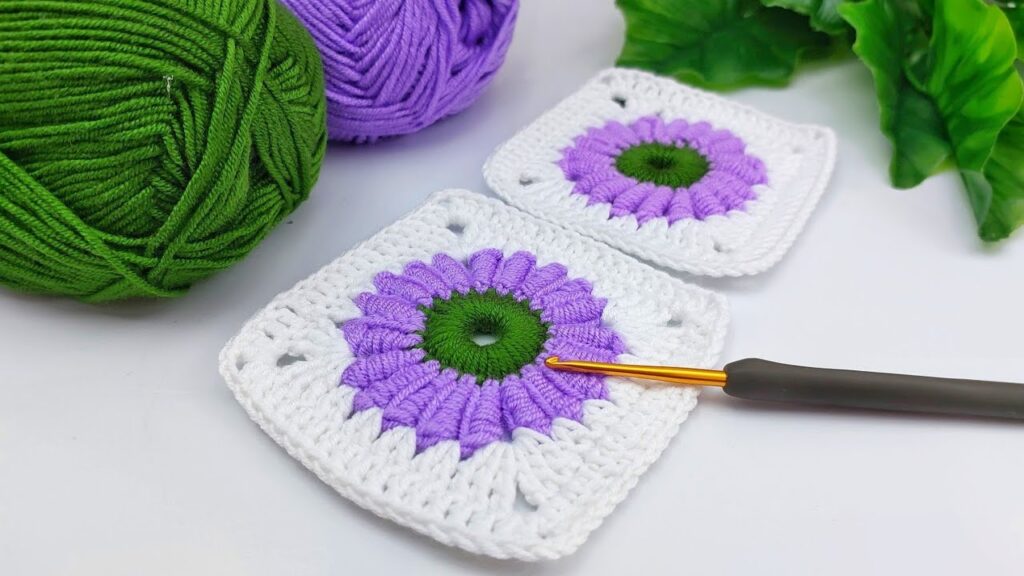
That’s a beautiful crochet flower granny square! 🌸
Here’s a step-by-step tutorial to make one like the image (green center, purple petals, white border):
🌼 CROCHET FLOWER GRANNY SQUARE (Step-by-Step Tutorial)
🧶 Materials
- Yarn colors:
- Green – for the flower center
- Purple – for the petals
- White – for the background
- Hook size: 3.0 mm or 3.5 mm (use what suits your yarn)
- Scissors and tapestry needle
🌸 Step 1: Make the Green Center (Round 1)
- Make a magic ring.
If you prefer, chain 5 and join with slip stitch to form a circle. - Chain 2 (counts as 1 half double crochet).
- Work 11 half double crochets (hdc) into the ring.
→ You should have 12 stitches total (including the first ch-2). - Slip stitch into the top of the first chain-2 to close the round.
- Fasten off the green yarn and pull tight to close the ring’s center.
🟢 Tip: The center should be tight and round.
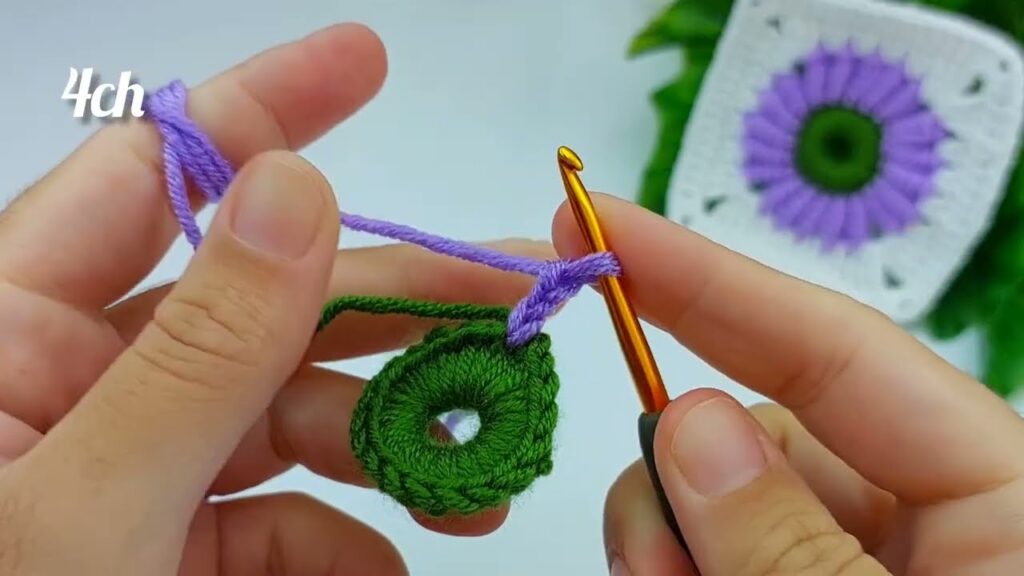
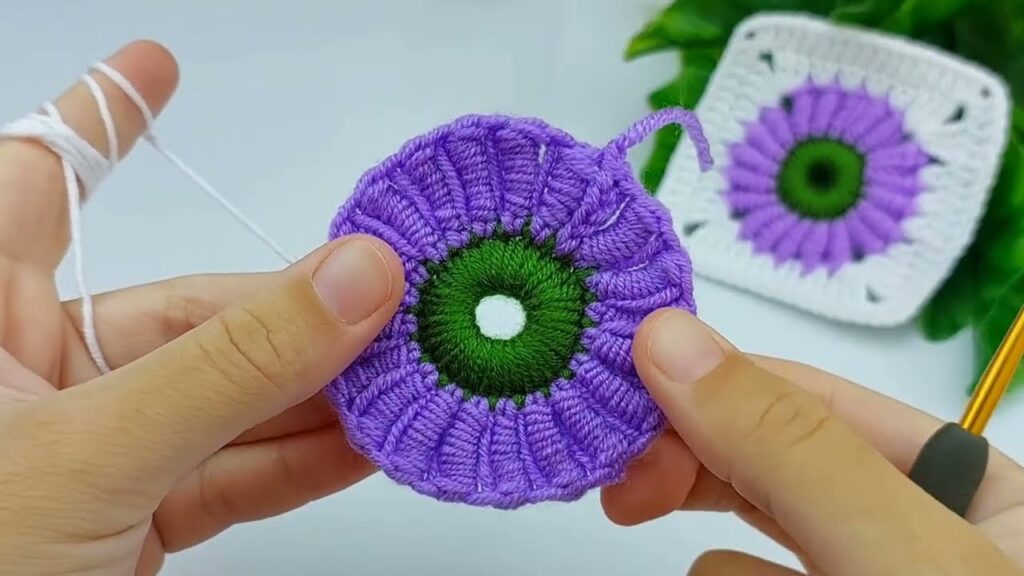
🌸 Step 2: Make the Purple Petals (Round 2)
- Attach purple yarn in any stitch.
- In the same stitch:
- Chain 2,
- Yarn over, insert hook into the same stitch, pull up a tall loop (~1 cm),
- Yarn over, insert hook again, pull up another tall loop,
- Repeat this a third time (you’ll have 7 loops on your hook),
- Yarn over and pull through all loops at once,
- Chain 1 to secure the puff.
- Skip 1 stitch, and in the next stitch make another puff stitch the same way.
- Continue making puff stitches around the circle, skipping one stitch each time. → You’ll have 6 puff petals (if skipping every other stitch) or 12 petals if done in every stitch.
- Slip stitch into the top of the first puff to close the round.
- Fasten off the purple yarn and weave in ends.
💜 Tip: Each puff should be fluffy and stand up slightly for a 3D petal look.
🤍 Step 3: Add the White Border (Round 3)
Now we’ll make the background that turns the flower into a square.
- Attach white yarn in any space between two petals (the small hole).
- Chain 3 (counts as your first double crochet).
- In the same space, make 2 more double crochets (dc) → (3 dc cluster made).
- Chain 1, then move to the next space and make another 3 dc cluster.
- Repeat (3 dc, ch 1) in each space around the flower.
- Join with a slip stitch to the top of the starting chain-3.
🤍 Tip: The piece is still round at this point — the next round will form corners.
⬜ Step 4: Form the Square (Round 4)
- Slip stitch to the next chain-1 space.
- Chain 3 (counts as dc), then 2 dc, chain 2, 3 dc in the same space — this is your first corner.
- (Chain 1, 3 dc in next space) repeat 2 times.
- In next space, work 3 dc, chain 2, 3 dc — this makes your second corner.
- Continue this pattern:
- (Ch 1, 3 dc) twice,
- (3 dc, ch 2, 3 dc) for each corner.
- Join with a slip stitch to the top of the starting chain-3.
- Fasten off and weave in all yarn tails.
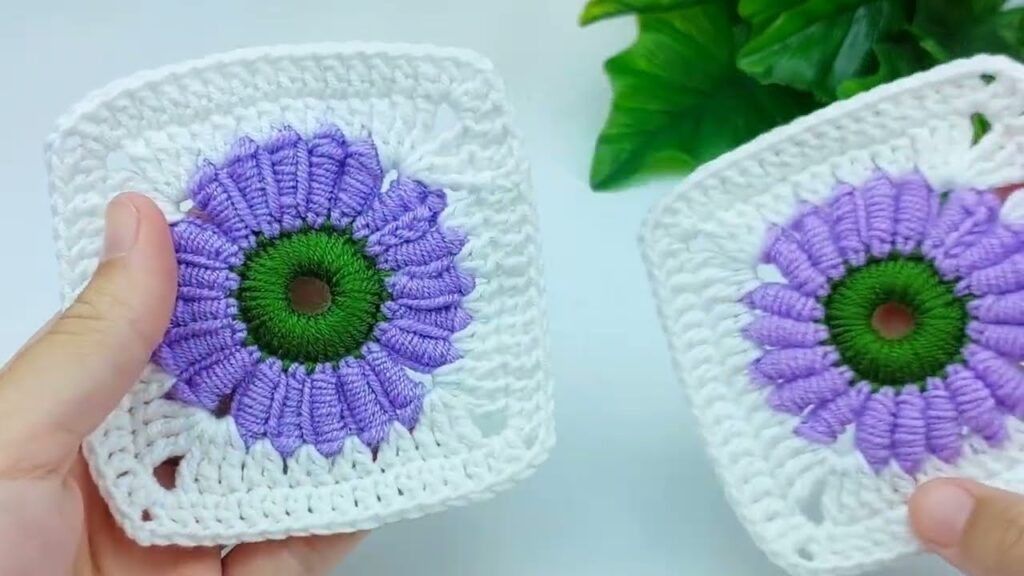
🪡 Optional – Step 5: Finishing Touch
- Lightly block your square with steam or by pinning it flat.
- You can join multiple squares using slip stitch or whip stitch for a blanket, pillow, or bag.
💡 Summary of Rounds
| Round | Yarn Color | Stitch Type | Total Stitches/Clusters |
|---|---|---|---|
| 1 | Green | 12 hdc | 12 |
| 2 | Purple | Puff stitches | 12 petals |
| 3 | White | 3 dc clusters | 12 clusters |
| 4 | White | 3 dc clusters with 4 corners | 4 corners, 12 sides |

