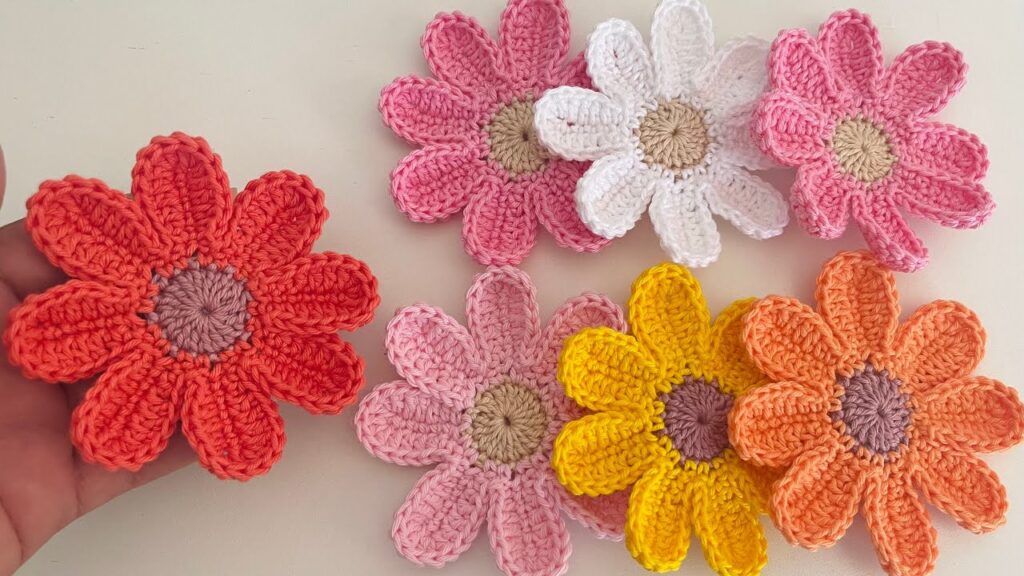
Those beautiful crochet flowers in your image are crochet daisies (or sometimes called 8-petal crochet flowers). Here’s a step-by-step tutorial to make one just like those:
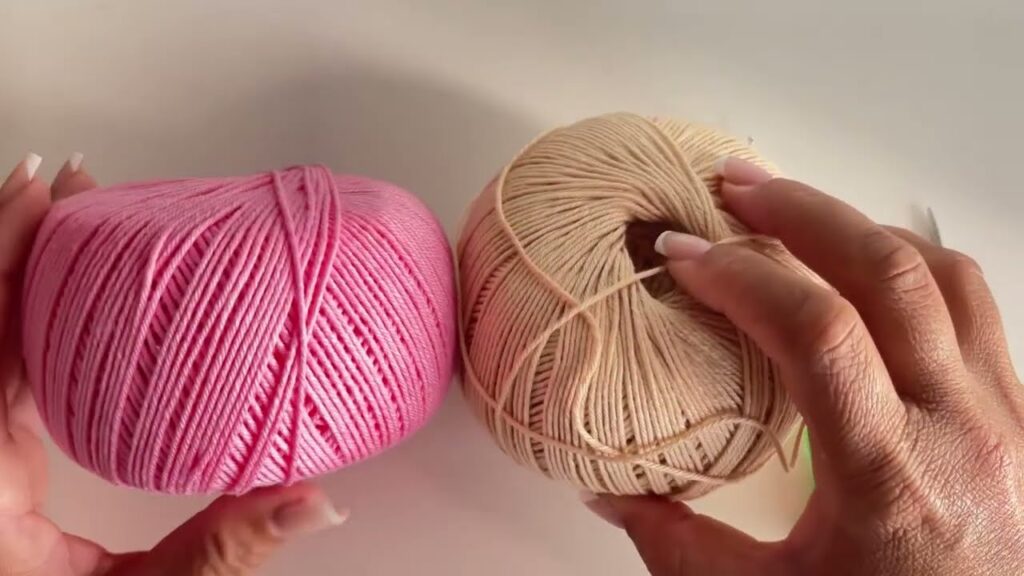
🌼 Materials:
- Yarn: 2 colors — one for the center (light brown/cream) and one for petals (pink, yellow, orange, etc.)
- Hook: Size 3–4 mm (adjust for your yarn)
- Scissors and yarn needle
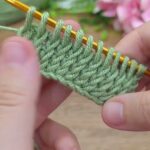
🧵 Step 1: Crochet the Flower Center
Round 1 – Magic Ring
- Make a magic ring.
(If you prefer, chain 4 and join with a slip stitch to form a small ring.) - Ch 2 (counts as the first double crochet — dc).
- Make 11 more dc inside the ring.
→ You should have 12 dc total (including the first ch 2). - Pull the ring tight to close the hole.
- Sl st into the top of the first dc to close the round.
- Cut yarn and fasten off.
💡 You now have a small circle — this is the flower’s center.
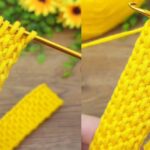
🌸 Step 2: Start the Petals
Round 2 – Base for Petals
- Join your petal color in any dc stitch with a slip stitch.
- Ch 1 (doesn’t count as a stitch).
- Work 1 single crochet (sc) in the same stitch.
- In the next stitch, make 1 single crochet (sc).
- Continue making 1 sc in each stitch around the circle — total 12 sc.
- Join with a slip stitch to the first sc.
💡 This gives you a round foundation to attach the petals.
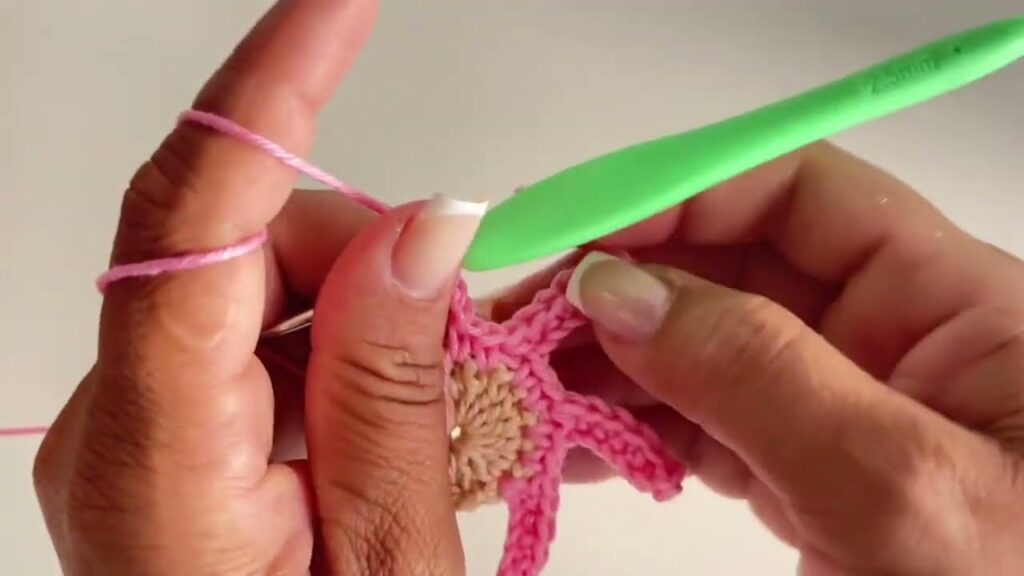
🌺 Step 3: Form Each Petal
Each petal is worked over 2 stitches.
Pattern for one petal:
- In the first stitch:
- 1 sc, 1 hdc, 3 dc
- In the next stitch:
- 3 dc, 1 hdc, 1 sc
- Slip stitch into the next stitch (this anchors the petal).
👉 You’ve just made one petal.
Repeat this petal pattern 6–8 times (depending on how full you want it) around the center.
You’ll notice each petal fans out naturally.
🌻 Step 4: Finish the Round
- After the last petal, slip stitch to the base of the first petal.
- Fasten off and weave in all loose ends with a yarn needle.
- Gently block or shape petals with your fingers.
💡 Optional Variation (For Puffier Petals)
If you want thicker, puffier petals:
- Instead of 3 dc + 3 dc, try 4 dc + 4 dc.
- You can even do (1 sc, 1 hdc, 4 dc) on each side for bigger flowers.
🌷 Step 5: (Optional) Add a Second Layer
You can make another flower in a slightly smaller size (use fewer stitches or lighter yarn) and sew it in the center for a 3D layered effect.
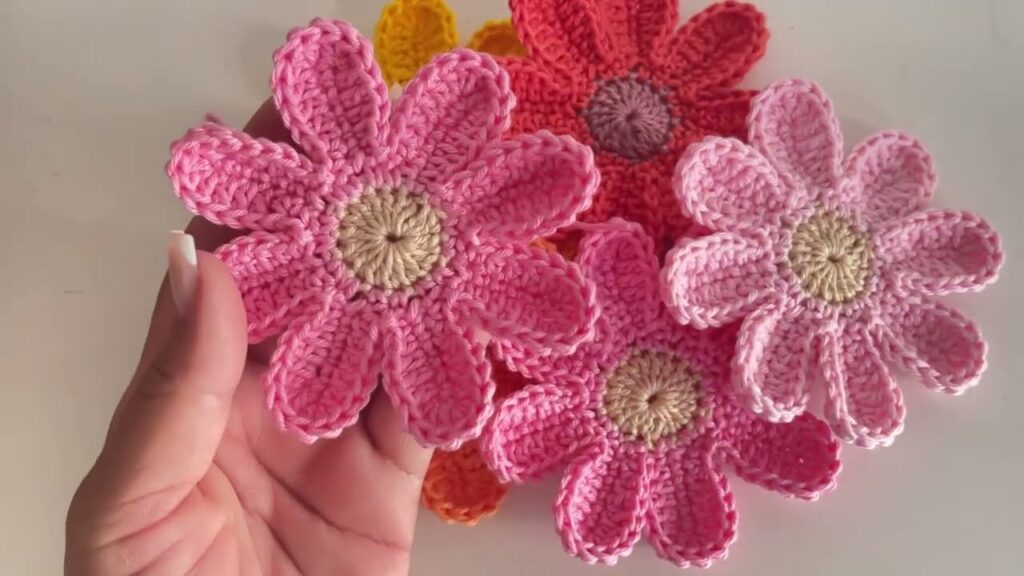
✅ Finished!
You now have a cute crochet flower like the ones in your photo.
Use them as appliqués for:
- hats 🎩
- bags 👜
- blankets 🧣
- or even hair clips 🌼