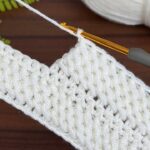
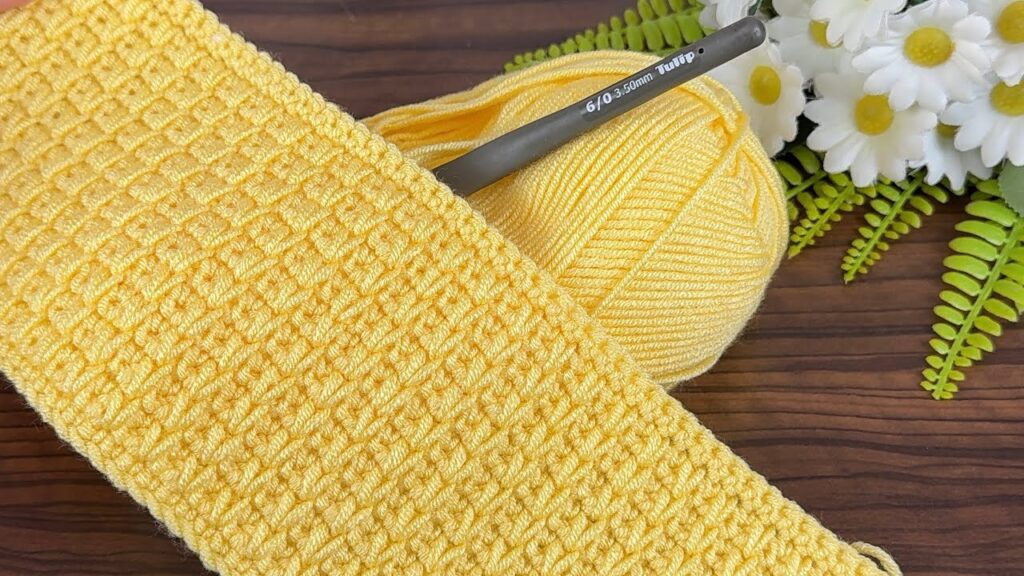
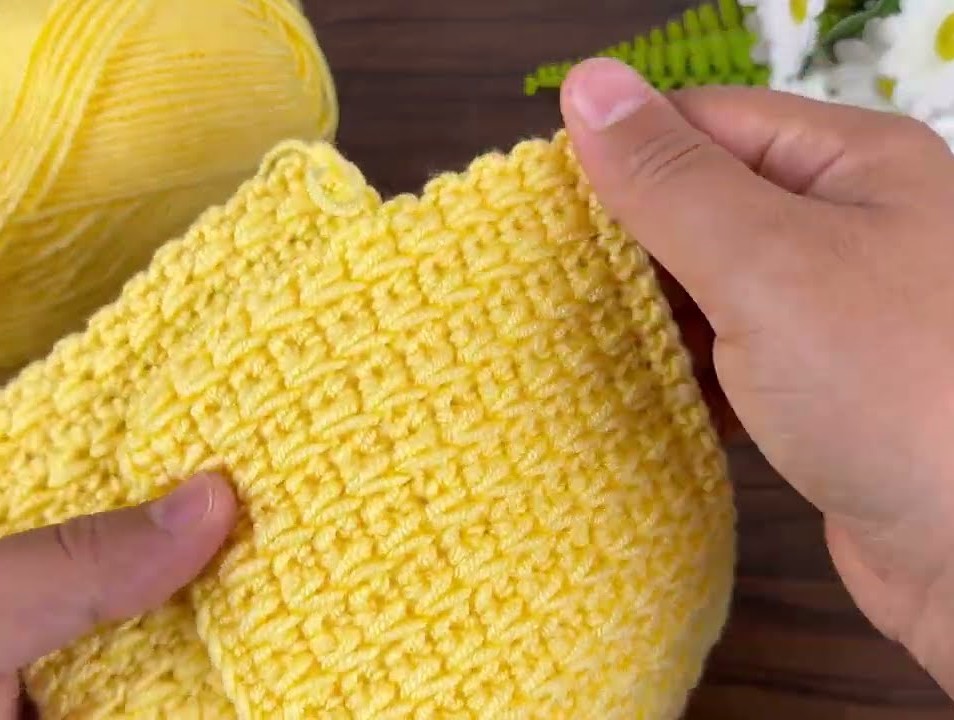
It looks like you’ve uploaded an image of a yellow crochet project made with a 3.5 mm crochet hook and medium-weight yarn. The pattern appears to be a textured waffle stitch — a popular and beautiful crochet stitch often used for scarves, blankets, and dishcloths.
Here’s how you can make it:
🧶 Materials
- Yarn: Medium weight (Category 4) acrylic or cotton — the one in your photo looks like acrylic.
- Hook: 3.5 mm (or any size that gives you a comfortable tension).
- Others: Yarn needle & scissors.
🪡 Abbreviations (US Terms)
| Abbreviation | Meaning |
|---|---|
| ch | chain |
| st | stitch |
| dc | double crochet |
| fpdc | front post double crochet |
| yo | yarn over |
🧵 Step-by-Step Pattern
Step 1: Foundation Chain
- Chain a multiple of 3 + 2.
Example: For a small swatch, ch 32 + 2 = 34 chains.
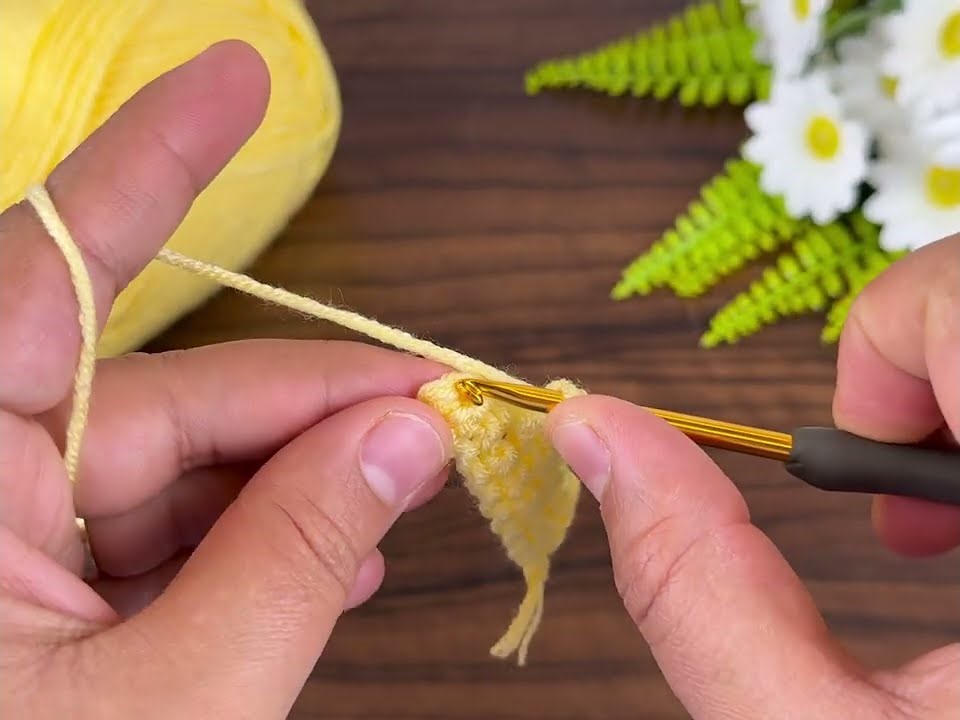
Step 2: Row 1 – Base Row
- Dc in the 4th ch from hook (the first 3 ch count as your first dc).
- Dc in each chain across the row.
- Turn your work.
👉 You should now have a flat row of double crochets.
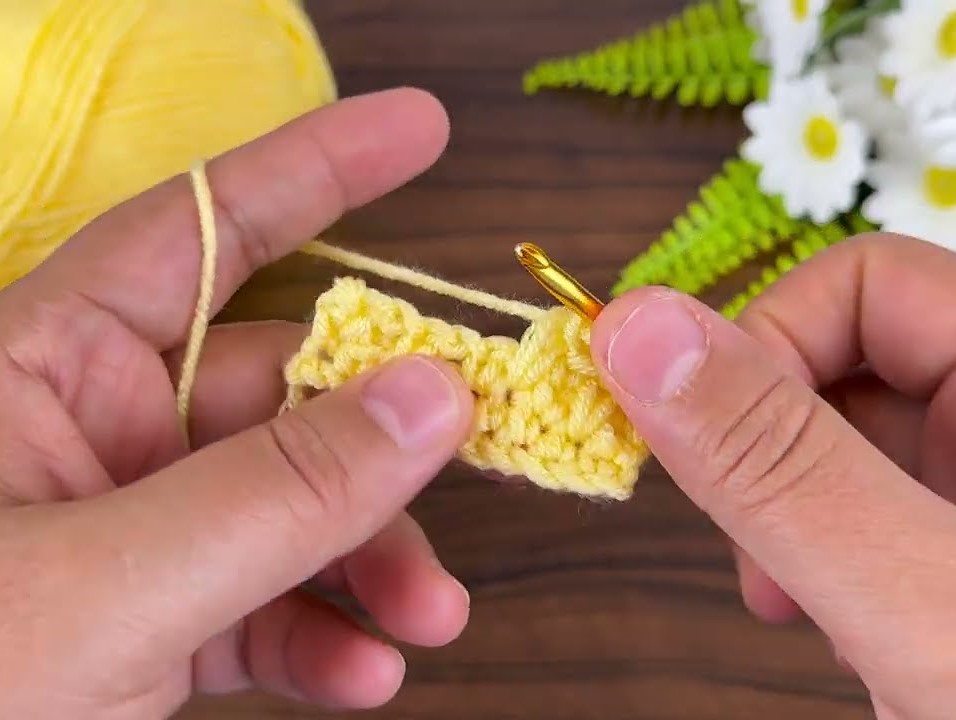
Step 3: Row 2 – Begin Texture
- Ch 2 (counts as first dc).
- Fpdc around next st, dc in next 2 sts.
- To make a fpdc, yo, insert hook from front to back to front around the post of the next dc (not the top loops), yo, pull up a loop, (yo, pull through 2 loops) twice.
- Repeat … across the row until 1 stitch remains.
- Dc in top of turning chain from the previous row.
- Turn your work.
👉 You’ll start to see raised “columns” forming.
Step 4: Row 3 – Offset the Texture
- Ch 2.
- Dc in next st, fpdc around next 2 sts.
- Repeat … across.
- Dc in top of turning chain.
- Turn your work.
👉 This row offsets the texture to create the “waffle” look.
Step 5: Continue Pattern
Repeat Rows 2 and 3 until your piece reaches the desired length.
Every two rows create one full “square” of the waffle pattern.
Step 6: Finishing
- When your piece is long enough, end with a Row 3.
- Fasten off your yarn and weave in all ends with a tapestry needle.
- Optional: Add a single crochet border for a clean edge.
🪄 Optional Border (for neat edges)
- Join yarn anywhere on the edge.
- Sc evenly around all four sides.
- In each corner, make (sc, ch 1, sc).
- Join with a slip stitch to the first sc, fasten off, and weave in ends.
🧩 Helpful Notes
- If your edges start to slant, make sure you’re always placing the last dc in the top of the turning chain.
- For a softer drape, use a slightly larger hook.
- For baby blankets, consider using pastel shades or soft cotton.