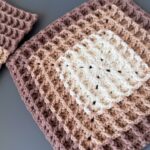
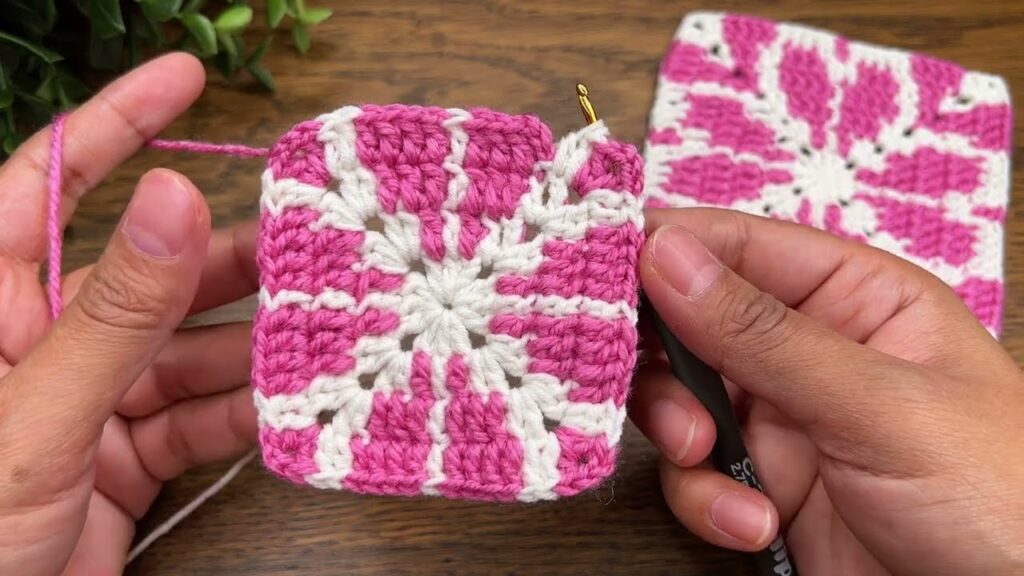
This beautiful crochet pattern is called a mosaic crochet square (sometimes referred to as an overlay mosaic crochet motif). It combines two colors—in this case, pink and white—to create a striking geometric design. Here’s how you can make it step-by-step:
🧶 MATERIALS
- Yarn: Two contrasting colors —
Color A (white) = contrast/highlight color
Color B (pink) = background color - Hook: 3.5 mm – 4 mm
- Scissors
- Yarn needle

🪡 ABBREVIATIONS (US TERMS)
| Symbol | Meaning |
|---|---|
| ch | chain |
| sl st | slip stitch |
| sc | single crochet |
| dc | double crochet |
| fpdc | front post double crochet |
| st | stitch |
| sp | space |
| RS | right side |
🌸 PATTERN STRUCTURE
This pattern is made using overlay mosaic crochet, where one color overlays stitches from previous rounds to create geometric lines.
The motif is a square, built from the center outward.
🧵 STEP-BY-STEP TUTORIAL
Round 1 – Center (White)
- Start with a magic ring.
- Ch 2 (counts as 1 dc).
- Work 11 dc into the ring (12 total dc).
- Join with a sl st into the top of the starting ch-2.
- Fasten off and tighten the ring.
(You have a small round white circle.)
Round 2 – Base Color (Pink)
- Attach pink yarn into any dc.
- Ch 3 (counts as 1 dc), dc in same st, ch 1.
- 2 dc in next st, ch 1 — repeat around.
- Join with a sl st to the top of ch-3.
(You now have 12 dc pairs separated by ch-1 spaces.)
Round 3 – Overlay Start (White)
- Attach white yarn into any ch-1 space.
- Ch 3 (counts as dc), 1 dc in same sp.
- Ch 2, skip next dc pair, 2 dc in next ch-1 space — repeat around.
- Join with a sl st to top of ch-3.
Now you have 12 sets of 2 dc clusters separated by ch-2 spaces.
Round 4 – Background Fill (Pink)
- Join pink in any ch-2 space.
- Ch 3 (counts as dc), 2 dc in same space.
- Dc in next 4 sts (over white dc clusters), 3 dc in next ch-2 space — repeat 3 more times.
- Join with a sl st.
You’re forming a square now — the corners are 3 dc in one space.
Round 5 – Overlay Pattern (White)
This is where the white lines appear.
- Join white yarn at the top of any corner dc group.
- Ch 3, 1 dc in same st, fpdc (front post dc) around dc two rounds below (pink dc in Round 3) — this creates the vertical white stripe.
- Ch 1, skip 2 dc, fpdc around next pink dc two rounds below.
- Work across the side with overlay stitches like this:
- (2 dc, ch 1, 2 dc) in corner sp
- fpdc across every 2nd st from 2 rounds below
- Join with sl st to complete.
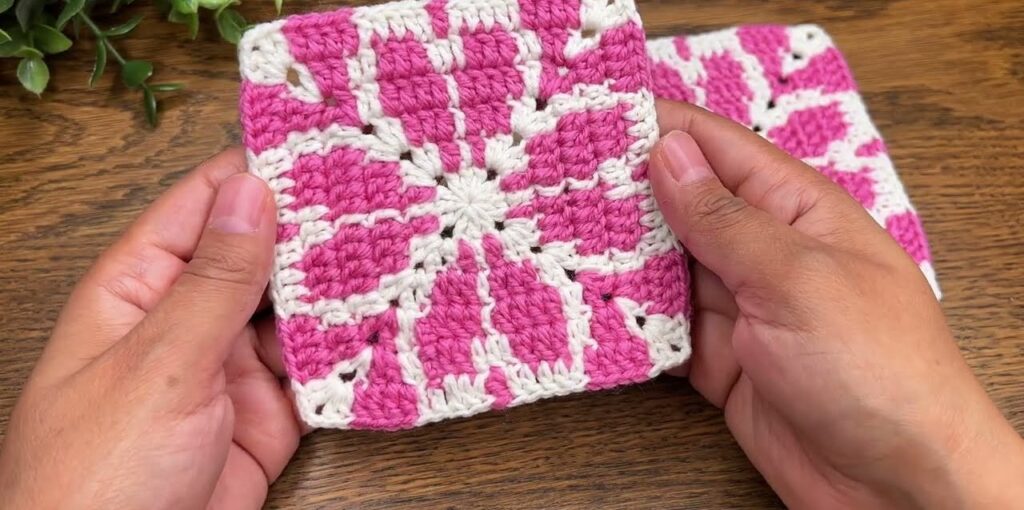
You’ll now see white overlay stripes forming the pattern.
Round 6 – Fill and Balance (Pink)
- Attach pink at any corner.
- Ch 3, 2 dc in same sp, dc in every st (including top of fpdc), 3 dc in corner sp*.
- Join and fasten off.
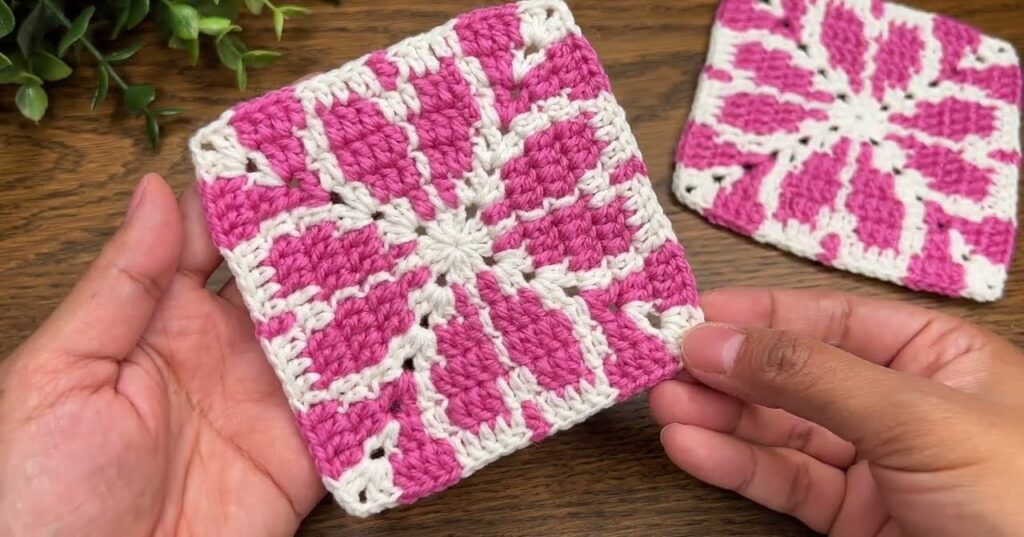
Now your motif should look exactly like the one in your picture — a beautiful geometric flower/star pattern in pink and white!
🧩 JOINING MOTIFS
To create the fabric shown on the right of your image:
- Make multiple squares.
- Join them using the white yarn (sc join or whip stitch).
- Align corners carefully to keep the pattern continuous.
🧶 OPTIONAL BORDER (WHITE)
- Work 1 sc in each st around.
- In each corner: (1 sc, ch 2, 1 sc).
- Fasten off and weave ends.