That’s a crochet flower granny square, made with layered petals and joined into a blanket or larger project. Here’s how you can make one like in your image:
🌼 Crochet Flower Granny Square Tutorial (Detailed)
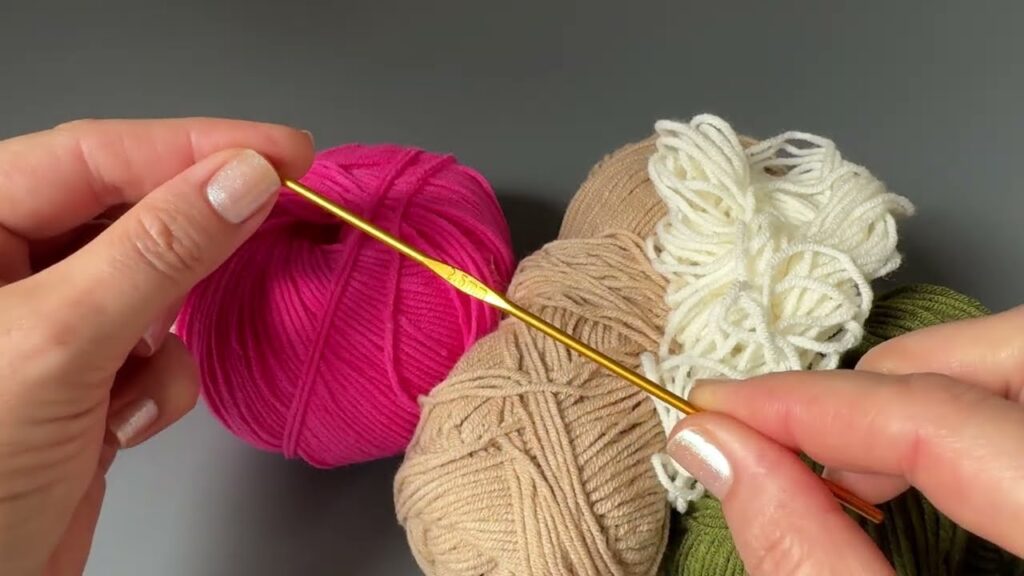
🧶 What You’ll Need
- Yarn colors:
- White – center of flower
- Pink – petals
- Green – leaves background
- Beige – outer square border
- Hook size: 3.5–4.0 mm (depends on yarn thickness)
- Other tools: Scissors, yarn needle

🌸 STEP 1: Make the Flower Center (White)
- Start with a Magic Ring
- Wrap the yarn around two fingers and make a loop. Insert the hook through the loop, yarn over, pull up a loop, and chain 2 (acts as height for your first stitch).
- Round 1:
- Crochet 12 double crochets (dc) into the ring.
- Pull the ring tight to close the hole.
- Slip stitch (sl st) into the top of the first dc to join.
- Cut yarn and pull through to fasten off.
👉 You now have a small round disk of 12 stitches.
🌺 STEP 2: Make the Petals (Pink)
- Attach pink yarn to any stitch from the white center.
- Chain 2 (doesn’t count as a stitch).
- In the same stitch:
- Yarn over, insert hook, yarn over, pull up loop, yarn over, pull through 2 loops — do this 3 times in the same stitch.
- You should now have 4 loops on your hook.
- Yarn over and pull through all loops together — this makes a 3-dc cluster (petal).
- Chain 2, then sl st into the next stitch (this separates petals).
- Repeat this pattern all the way around: (3-dc cluster, ch 2, sl st in next stitch) × 12 times
- Slip stitch into the base of the first cluster to close.
- Cut yarn and fasten off.
👉 Now you have a cute pink flower with 12 petals!
🌿 STEP 3: Add the Green Background (Behind the Petals)
We’ll crochet behind the pink petals, into the back loops or the spaces between petals.
- Attach green yarn in any ch-2 space (between petals).
- Chain 3 (counts as 1 dc), then make 2 more dc in the same space.
- Chain 1, and in the next space (behind next petal), make 3 dc.
- Repeat around the circle: (3 dc, ch 1) × 12 times total.
- Join with a slip stitch to the top of the first ch-3.
- Cut yarn and fasten off.
👉 You now have a green circular base made of small 3-dc clusters with chain-1 spaces.
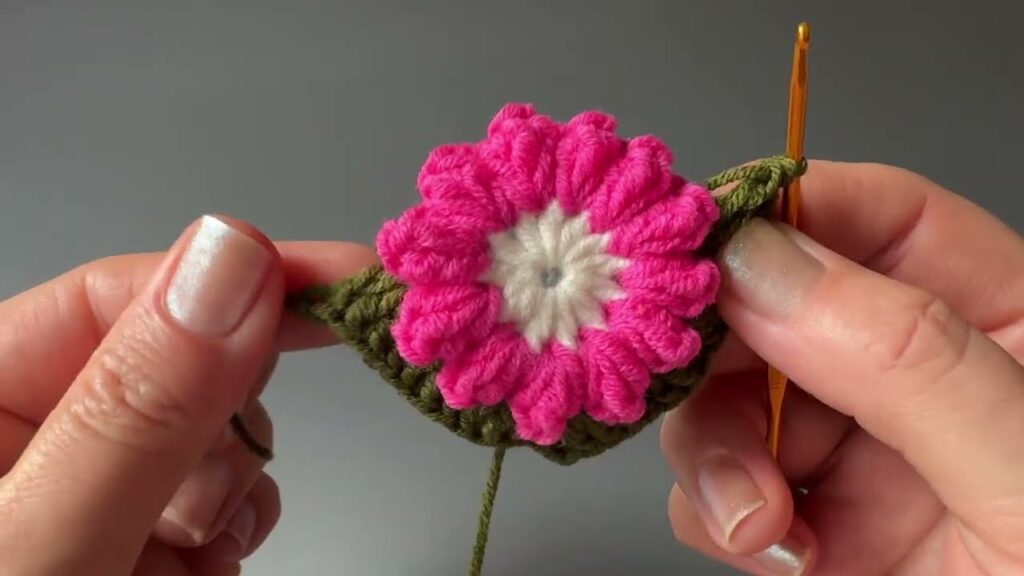
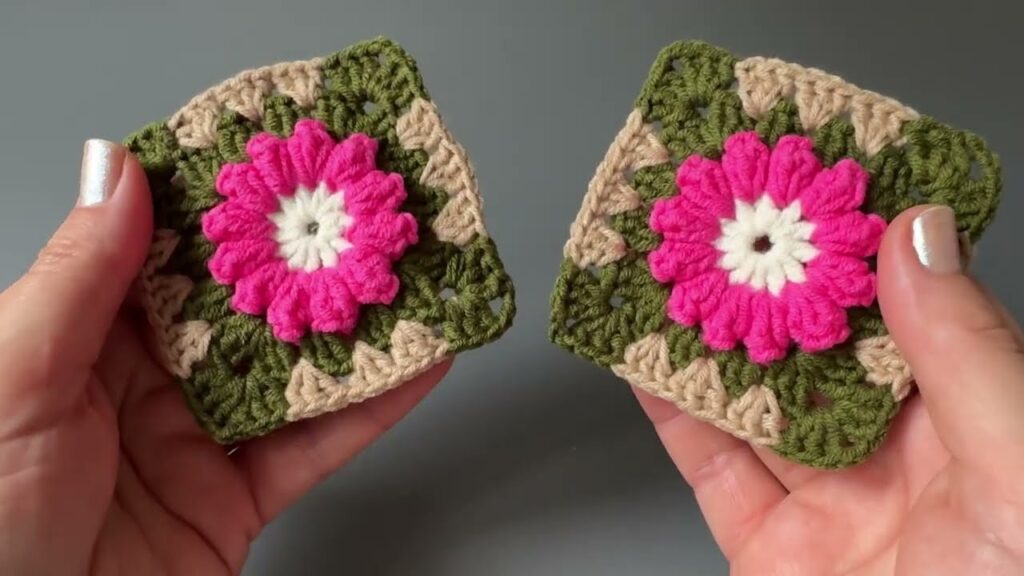
🟩 STEP 4: Form the Square (Beige Round)
Now we’ll turn the circle into a square.
- Attach beige yarn in any ch-1 space.
- Chain 3 (counts as 1 dc), work 2 dc, ch 1 in the same space.
- In the next ch-1 space, work 3 dc.
- In the next ch-1 space (this will be your first corner):
- Work 3 dc, ch 2, 3 dc.
- Continue pattern:
- (3 dc, ch 1) in two spaces (sides)
- (3 dc, ch 2, 3 dc) in corner space
- Repeat around until you have 4 corners total.
- Join with slip stitch to first dc and fasten off.
👉 Now it’s a square with a floral center.
🧵 STEP 5: Finishing Touches
- Weave in all yarn ends neatly using a yarn needle.
- Block your square by pinning it to shape and lightly steaming it.
- To make a blanket or scarf:
- Join the squares using the join-as-you-go method or slip stitch join along the last beige round.
🌼 Optional Join-as-you-go (while making last round)
If you plan to make many squares (like in the right side of your picture):
- When you’re making the beige round on a new square, instead of chaining 1 or 2 for corners/sides,
- Slip stitch into the corresponding chain space of the square next to it.
- Continue working your 3 dc clusters as usual.
- This joins them seamlessly with matching corners.

