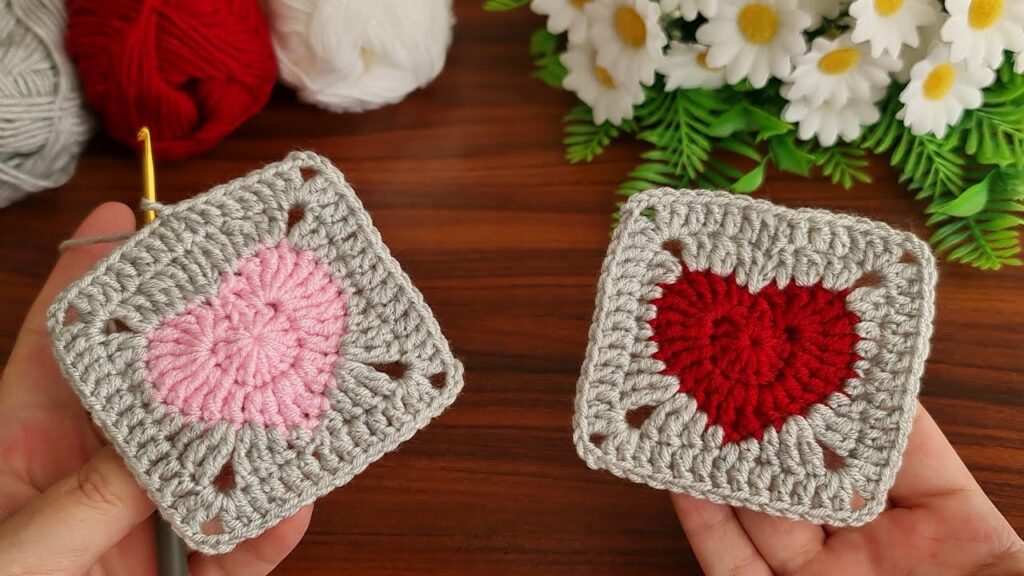
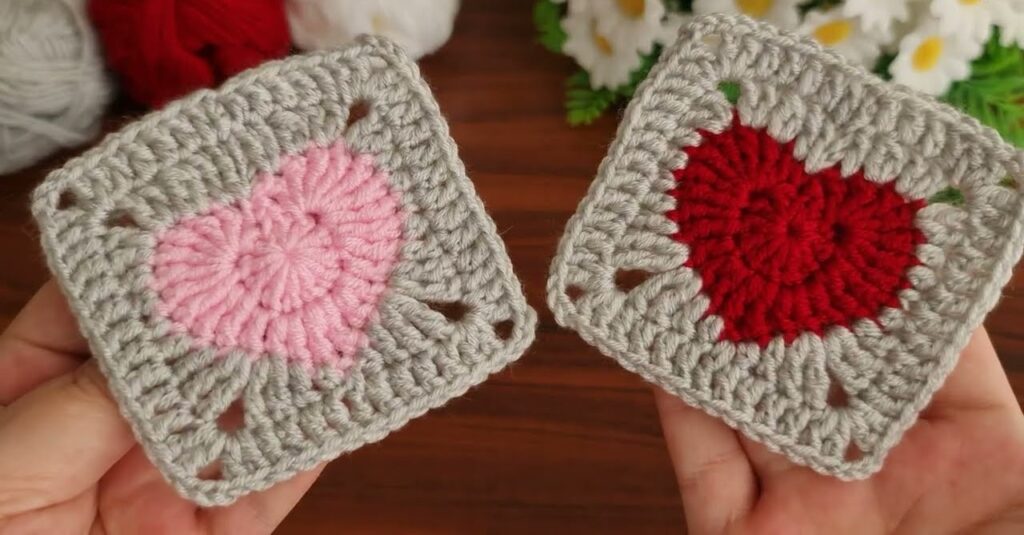
That’s a lovely crochet project — those are heart granny squares! 💖
They combine a heart motif in the center with a traditional granny square border. I can guide you step-by-step on how to make one like in your image.
🧶 MATERIALS
- Yarn: Two contrasting colors
- Heart color: Red or pink
- Border color: Light gray
- Crochet hook: size that matches your yarn (e.g., 3.5–4 mm for DK yarn)
- Scissors
- Yarn needle
🧵 ABBREVIATIONS (US crochet terms)
| Symbol | Meaning |
|---|---|
| ch | chain |
| sl st | slip stitch |
| sc | single crochet |
| dc | double crochet |
| tr | treble crochet (yarn over twice) |
| st | stitch |
| sp | space |
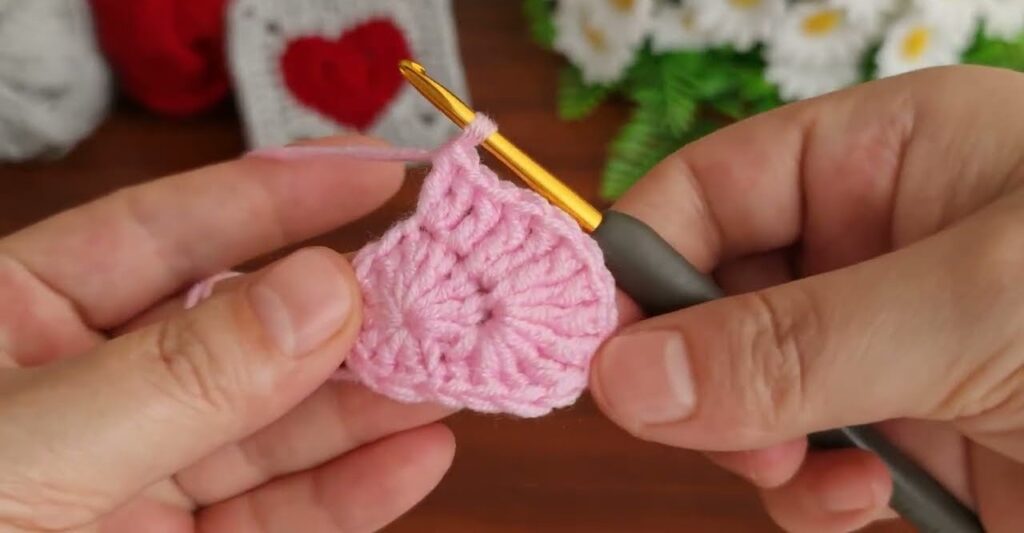
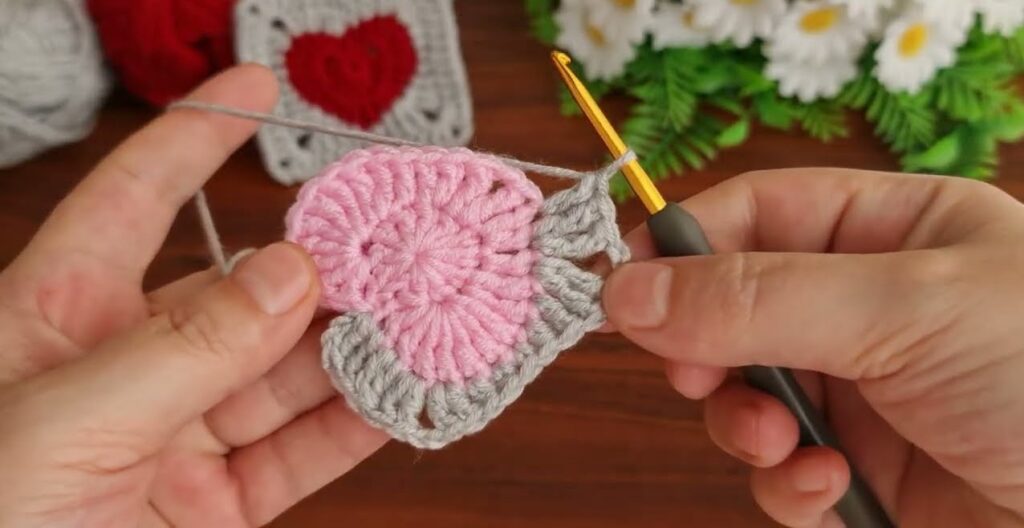
💖 STEP 1: Make the Heart Center
Use your heart color (pink or red).
- Magic ring, or ch 4 and sl st to form a ring.
- Round 1: ch 3 (counts as dc), 3 tr, 3 dc, ch 1, 1 tr, ch 1, 3 dc, 3 tr, ch 2, sl st into the center.
- You’ll see the heart shape form already — the point is the tr at the bottom, and the top bumps are the two groups of tr.
- Tighten the magic ring gently to close the center.
- Fasten off and weave in the end (or leave a small tail for later sewing if needed).
You now have a flat crocheted heart.
🩶 STEP 2: Turn the Heart into a Square
Attach the border color (gray) at the dip of the top of the heart (the space between the two bumps).
- Insert your hook into that center top dip and attach the new color with a sl st.
- Ch 3 (counts as dc), dc in same space.
- Work around the top right bump of the heart:
- 2 dc in next st, dc in each of next 2 sts, 2 dc in next st, dc in next 2 sts.
- In the top-right corner (around the last stitch of the heart bump): (2 dc, ch 2, 2 dc) — this forms the first corner.
- Work down the right side: dc in each st until you reach the bottom point.
- In the bottom point (the tr at the tip): (2 dc, ch 1, 2 dc) — this forms the lower corner.
- Now work up the left side of the heart symmetrically: dc in each st.
- In the top-left bump (last stitch of the bump): (2 dc, ch 2, 2 dc) — the left corner.
- Work across the top center again: dc in next 2 sts, then (2 dc, ch 2, 2 dc) into the starting stitch (forming the top corner).
- Join with sl st to the top of the starting ch-3.
Now your piece is a roughly rounded square with a heart shape inside it.
🧩 STEP 3: Granny Square Border (Optional Rounds)
You can now build a classic granny square border to enlarge it.
Round 1 of Granny Border:
- Sl st to next corner space, ch 3 (counts as dc), 2 dc, ch 2, 3 dc in same space.
- Ch 1, skip to next space between dc clusters, work 3 dc.
- In next corner: (3 dc, ch 2, 3 dc).
- Repeat around.
- Join with sl st to top of beginning ch 3.
You can repeat this round as many times as you like to make the square larger.
🪡 STEP 4: Finishing Touches
- Fasten off your yarn securely.
- Weave in all loose ends with a yarn needle.
- Lightly block the square (pin it to shape and mist with water or steam) to flatten and even it out.
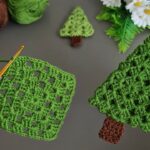
🌷 OPTIONAL IDEAS
- Join multiple heart squares together for a blanket, scarf, or pillow cover.
- Use different heart colors for a patchwork look.
- Add a border in white or another color for a finished edge.