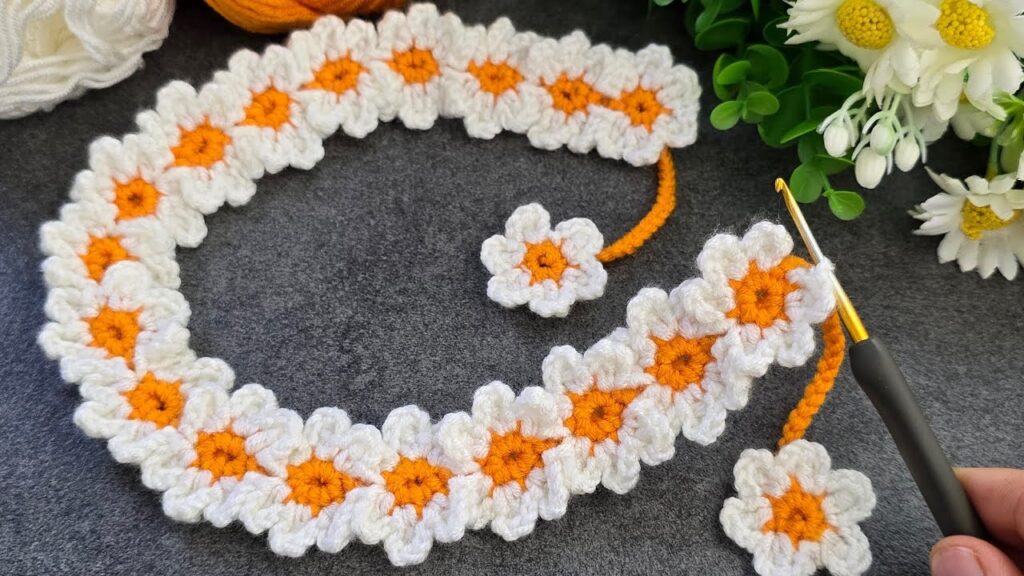
It looks like a daisy or flower granny strip made with two colors — orange for the centers and white for the petals.
Here’s a simple step-by-step guide to make it
🌼 Crochet Flower Chain Pattern (Detailed)
🧶 Materials
- Yarn: 2 colors —
- Color A: Orange (flower center)
- Color B: White (petals)
- Crochet hook: 3.0 mm–4.0 mm (depends on yarn thickness)
- Scissors
- Tapestry needle

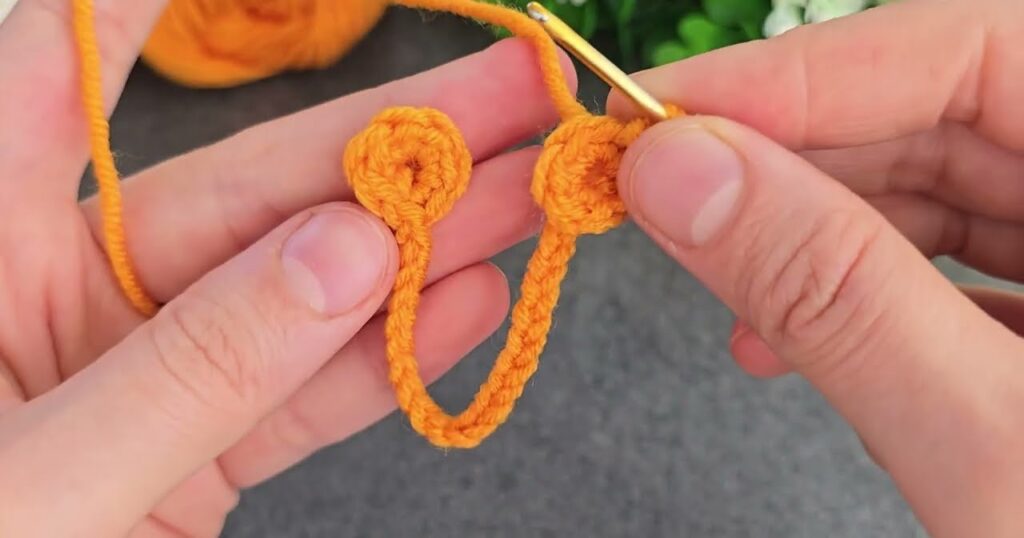
🌸 STEP 1: Crochet the First Flower
1️⃣ Make the Center
- Start with orange yarn.
- Make a magic ring (or chain 4 and slip stitch to form a ring).
- Chain 2 (counts as first double crochet).
- Crochet 11 double crochets (dc) into the ring — total 12 dc.
- Pull the ring tight and slip stitch into the top of the first dc to close.
- Fasten off the orange yarn.
You now have a small orange circle — this is the flower center.
2️⃣ Add the Petals
- Attach white yarn in any stitch of the orange circle.
- Chain 2.
- In the same stitch, crochet 3 double crochets (dc).
- Chain 2, then slip stitch into the next stitch on the orange circle.
- 🌼 This forms one petal.
- Repeat this pattern around:
- (Slip stitch, chain 2, 3 dc, chain 2, slip stitch into next stitch).
- You should have 6 petals total.
- After the last petal, slip stitch to the first white stitch and fasten off.
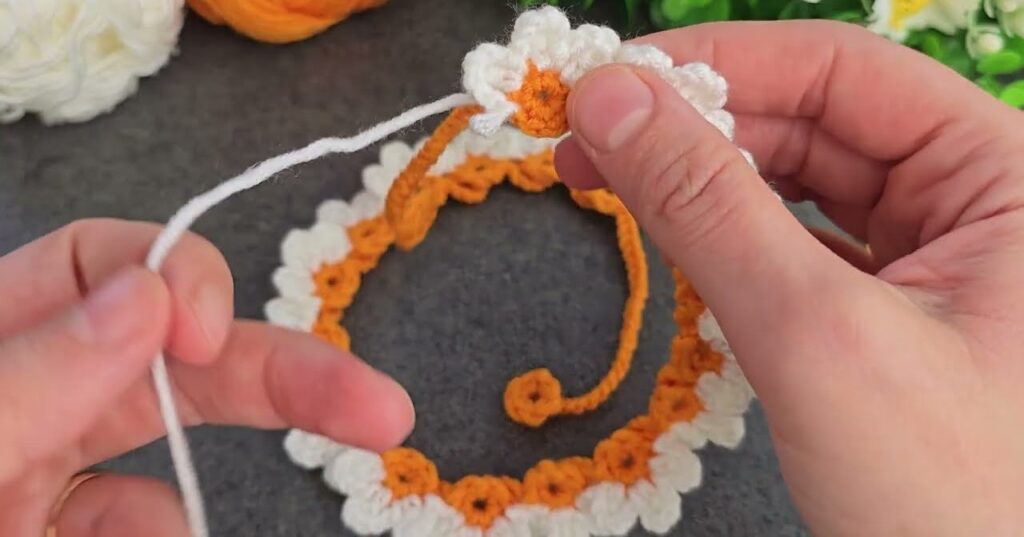
🌼 STEP 2: Join Flowers Continuously
Now you’ll make the next flower connected to the previous one, so you get a long chain like the picture.
- With orange yarn, make the center of the next flower just like before (magic ring + 12 dc).
- Do not fasten off yet — proceed directly to join the white petals.
Joining with White Yarn:
- Attach white yarn in any stitch of the orange center.
- Start your first petal as before:
Chain 2, 3 dc, chain 2, slip stitch in next stitch. - Make the second petal, but when you reach the chain-2 at the top, join to a petal of the previous flower:
- Chain 1, insert hook into the top of one white petal on the previous flower, slip stitch, chain 1.
- This replaces the normal chain 2 and joins them together.
- Continue making remaining petals as normal.
- After finishing, slip stitch to the beginning of the round and fasten off.
Each new flower can be joined to one or two petals of the previous flower depending on how tightly you want them to sit together.
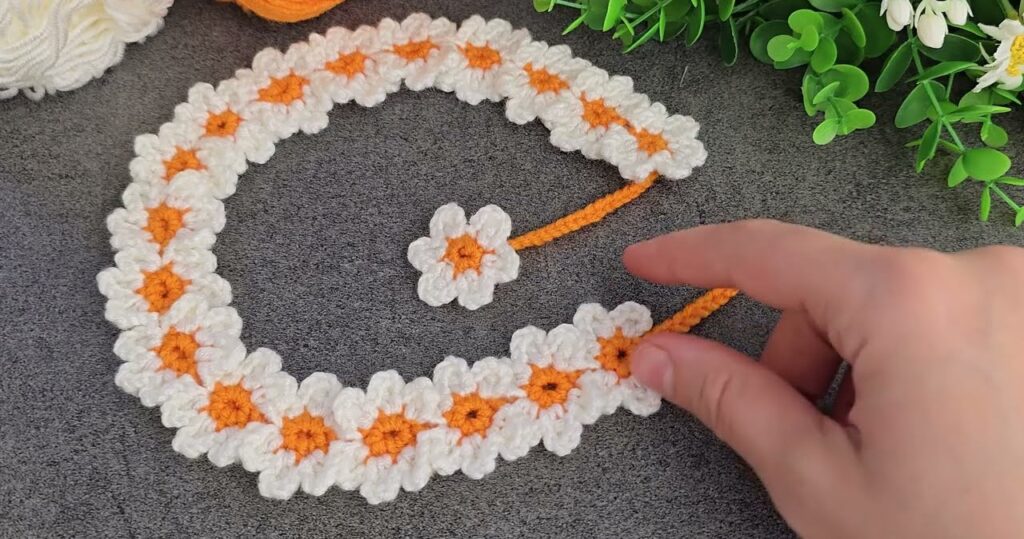
🌼 STEP 3: Continue the Chain
Repeat Step 2 for each new flower:
- Orange center (12 dc),
- White petals,
- Join to the previous flower’s edge with slip stitches.
Keep the chain as long as you want — for:
- Headband
- Belt
- Necklace
- Curtain/blanket edge
- Decorative garland
🧵 STEP 4: Finishing
- Weave in all yarn ends with a needle.
- Gently block (press flat under a damp towel for 30 min).
- Optionally, you can crochet a chain stitch string on one or both ends if you want to tie it like a headband or belt.
🧩 Optional: Make a Tiny Leaf (if you want)
- Attach green yarn in between two flowers.
- Chain 6, turn.
- In the 2nd chain from the hook:
- sc, hdc, dc, hdc, sc.
- Slip stitch to the base and fasten off.
Now you have a cute little leaf accent!

